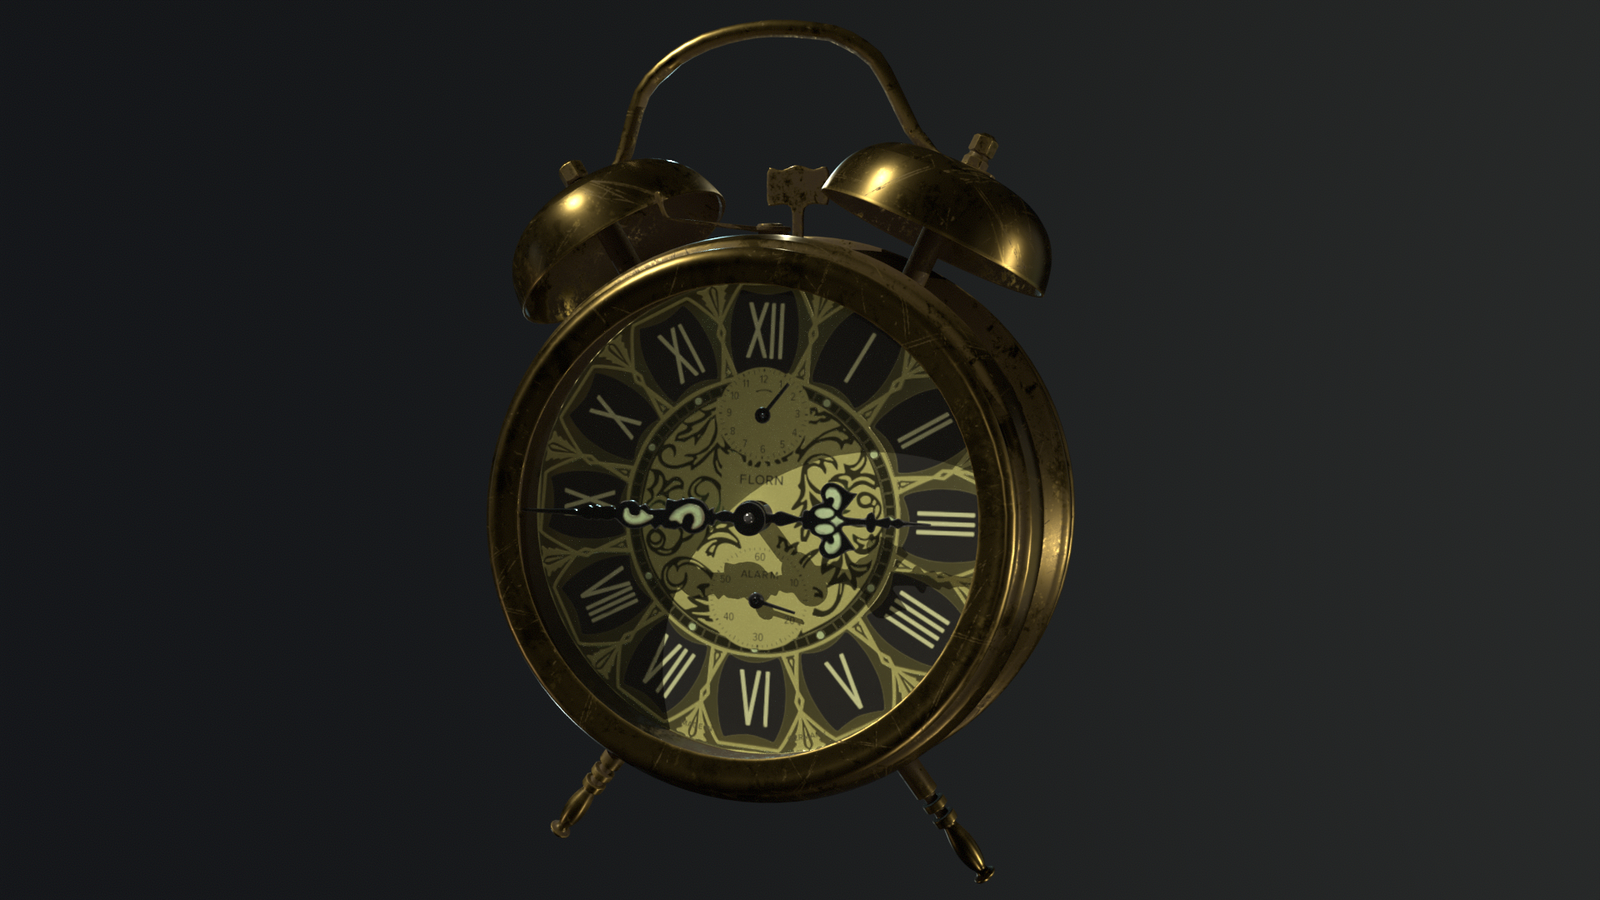
Pipeline Process:
- Planning: reference & research.
- Low Poly: block-out & UV unwrapping.
- High Poly: subdivision & extra detailing.
- Texturing: 2d graphics, baking, and materials.
- Lighting & Rendering: still & video turn-around.
Planning: Reference & Research
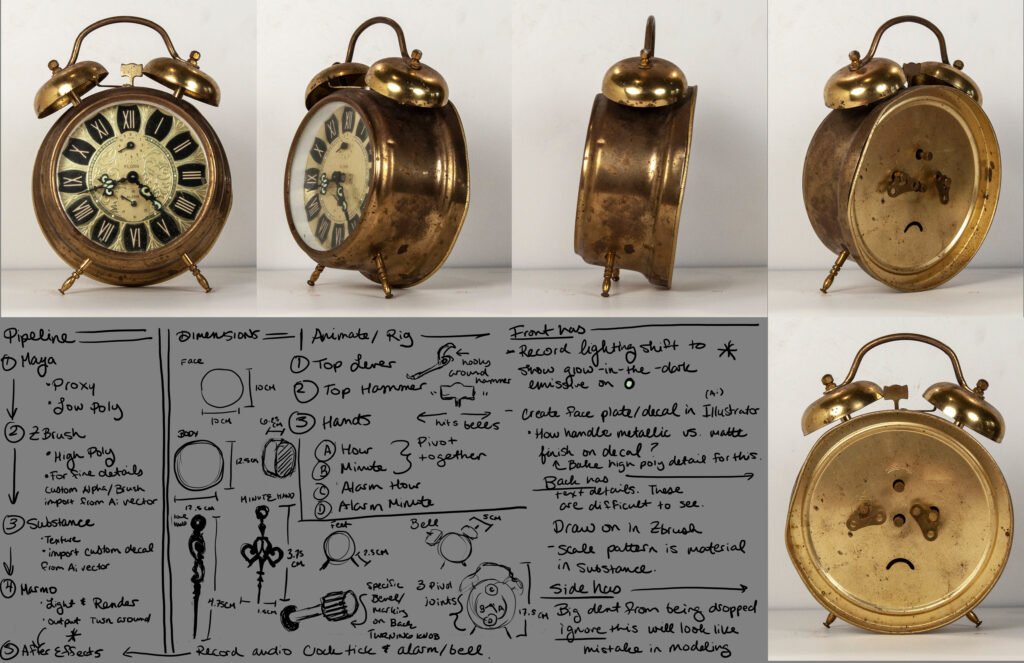
For this project I used high-resolution photos as reference and planned out the steps and process to follow before getting started. As you can see I have plans to animate the clock in the future and while I haven’t done this just yet, I still plan to!
Initially during the modeling process, I incorporated the large dent on the side of the clock – but when taking a critical eye to the final result, it looked more like a modeling mistake then actually damage – I decided the best option was to make the overall shape more regular like it was originally manufactured.
After understanding the steps involved: the individual components of the piece, how it would all fit together, and having a battle plan for the complex layers on the clock face, I began the low poly modeling process!
Low Poly & UV Unwrapping
Modeling was completed using Autodesk Maya.
Using my reference photos as a guide, I was careful to select and setup a clear side, back, and top image to guide the modeling process. (I used Photoshop to setup and crop clear pictures in these orientations.) I setup the scene and sizing based on logical real world dimension of the clock.
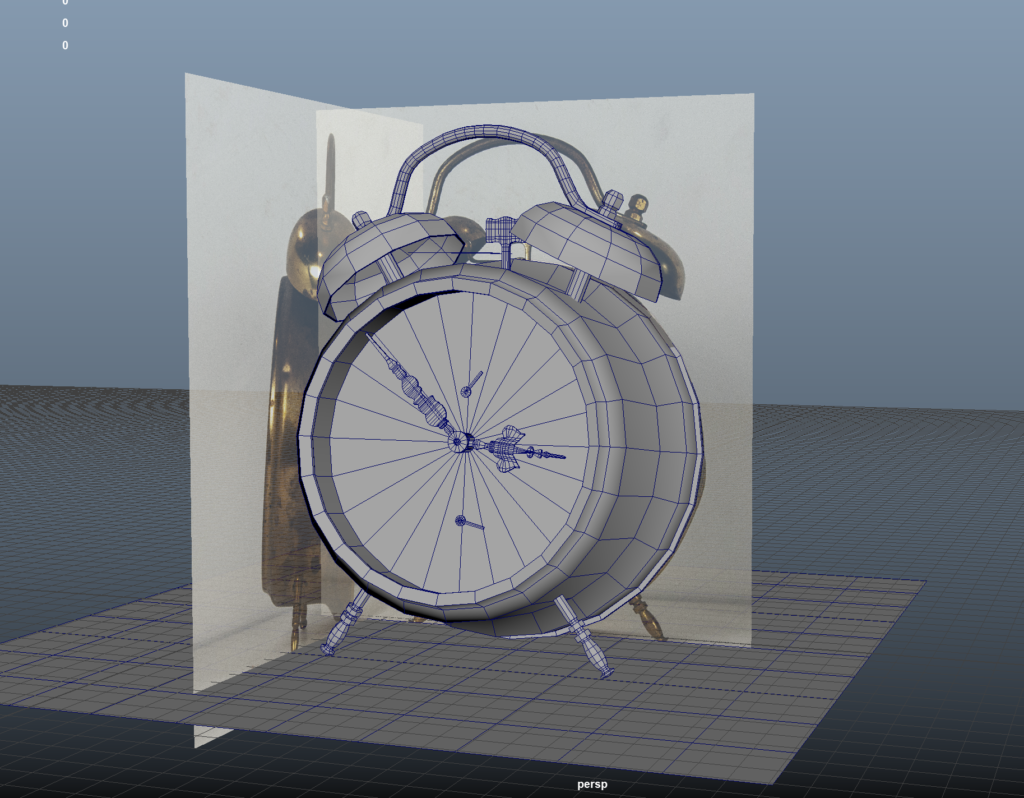
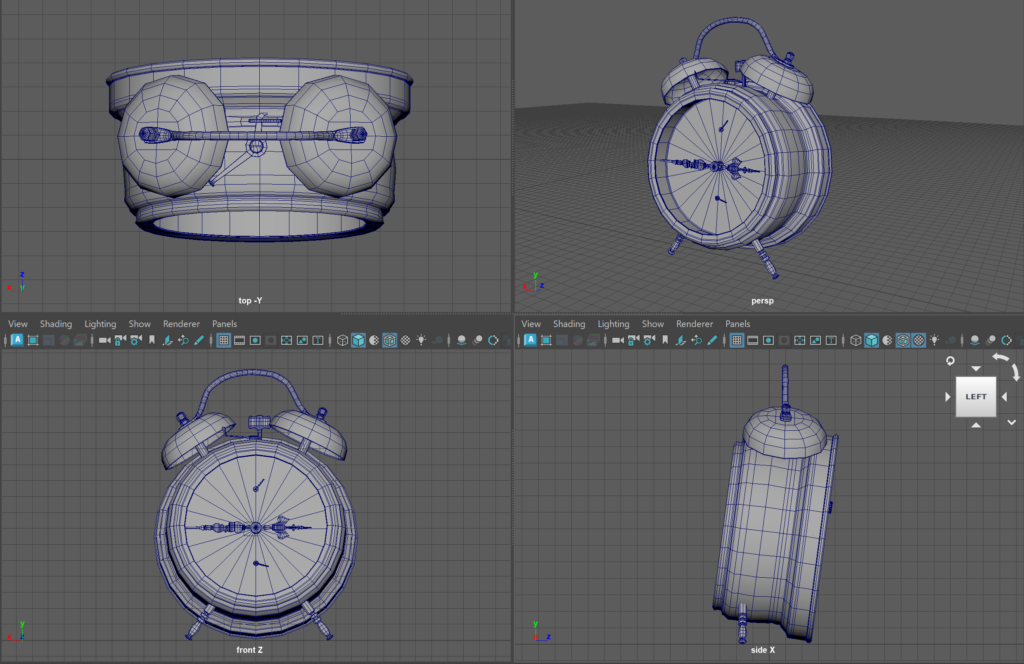
Along the way I labeled and nested each individual component of the model – as my final goal is to animate this in the future and this will help very much with rigging and is also best practice in general.
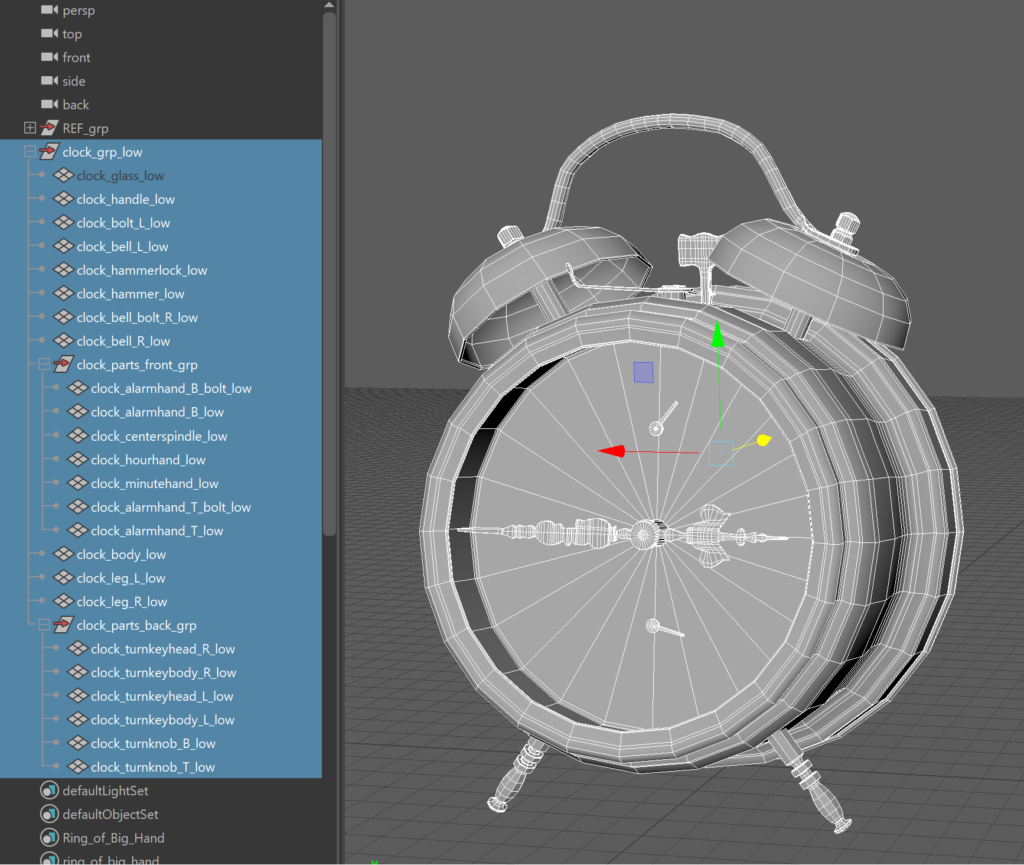
The hands of the clock were a bit higher poly then I would have liked, but knowing that I wanted to do some close up shots of these specifically I didn’t want to risk any vertices showing the final result. I achieved these shapes by tracing from the reference.
After completing the low poly block out I UV-unwrapped each piece. This is my favorite part of the modeling process.
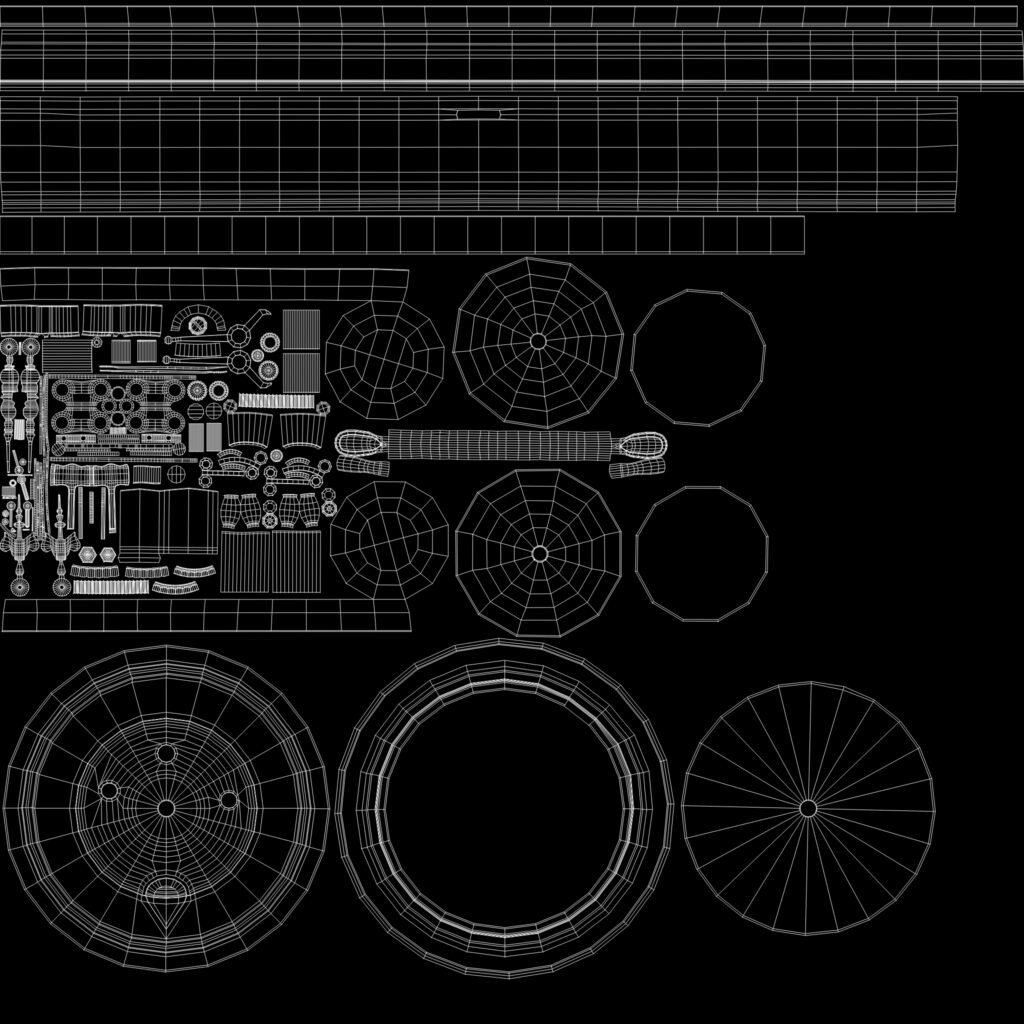
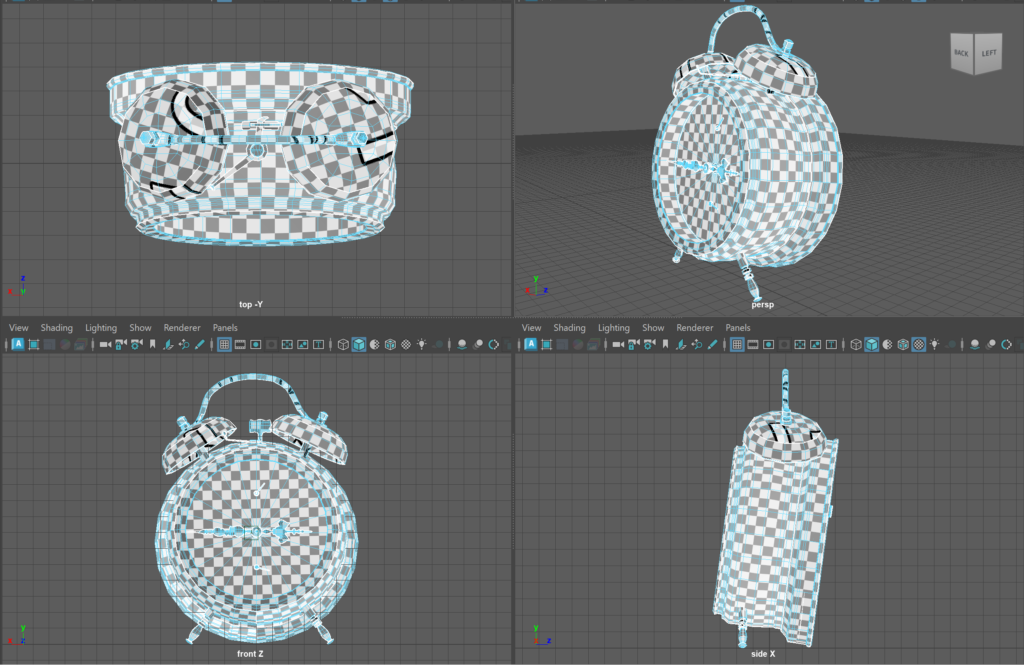
I was careful to be sure the texel density matched for each component, and the orientation was as true as possible to how each piece is oriented in physical space. I was also careful to place the face of the clock in an easy to access space on the sheet as I knew this would need a lot of attention and also to speed up the texturing process to also for easier drag / drop vert select painting areas of the UV in Substance Painter.
High Poly
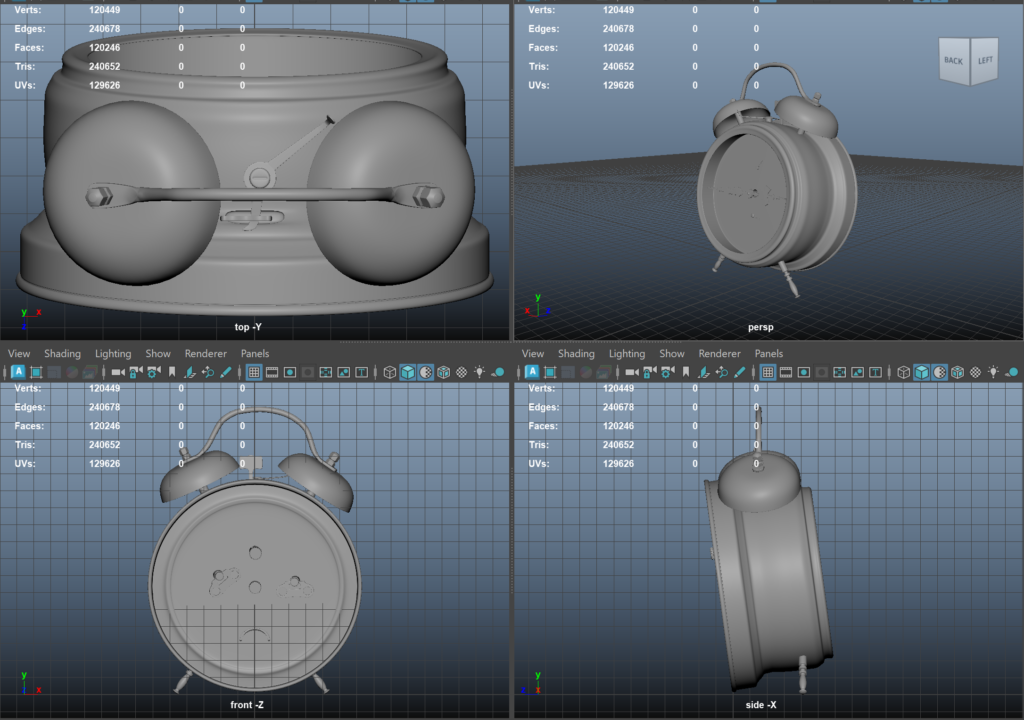
Using the low poly model as a starting point – I beveled and smoothed edges, subdividing components of the mesh to add resolution and smoothness to curved surfaces. I marked edges as sharp vs. smooth where they needed to be. This process was completed in Maya.
Texturing
Graphic Foils & Decals
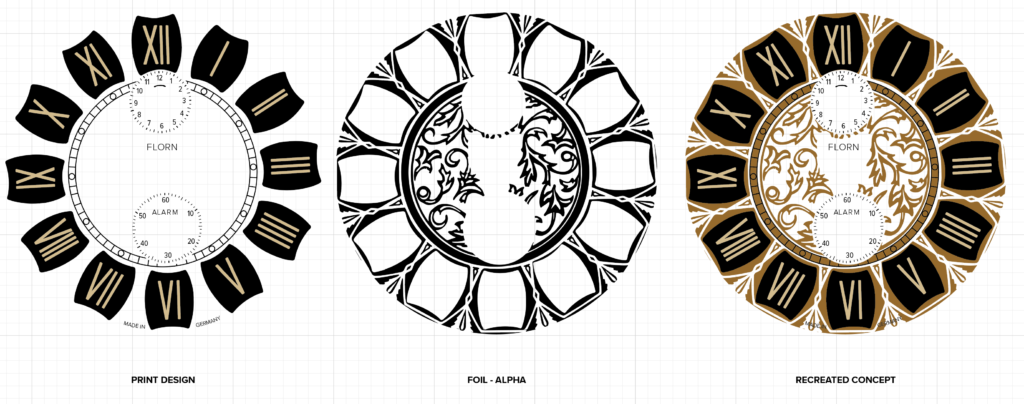
For this process I leaned heavily on my Graphic Design skills. I understand print processes and how foiling (the intricate metallic inlay) is placed over the top of a print surface. I replicated this layering effect in 2D, understanding that my materials would need to do the same.
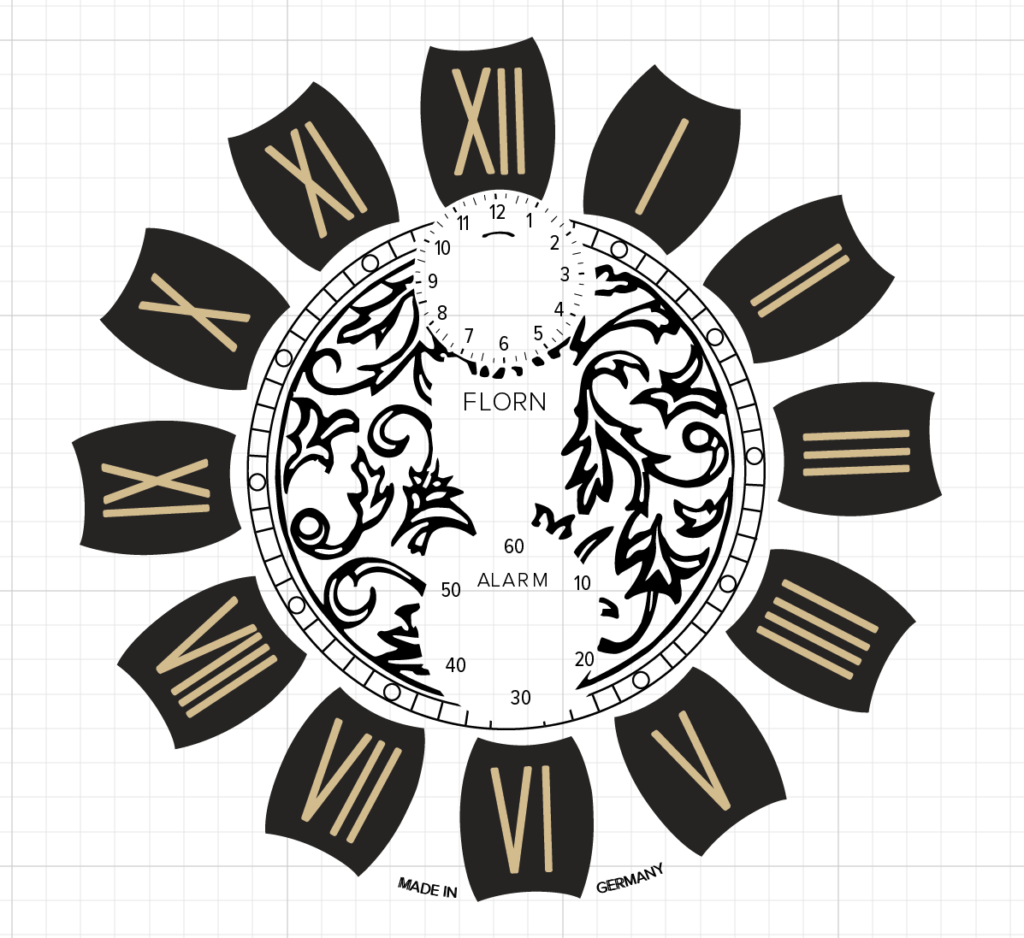
Using Adobe Illustrator, I replicated the main components and break-down of the print process. This includes a faithful reproduction of the labeling and decal work, including matching the antique typeface (which I discovered is closely related to Proxima Nova).
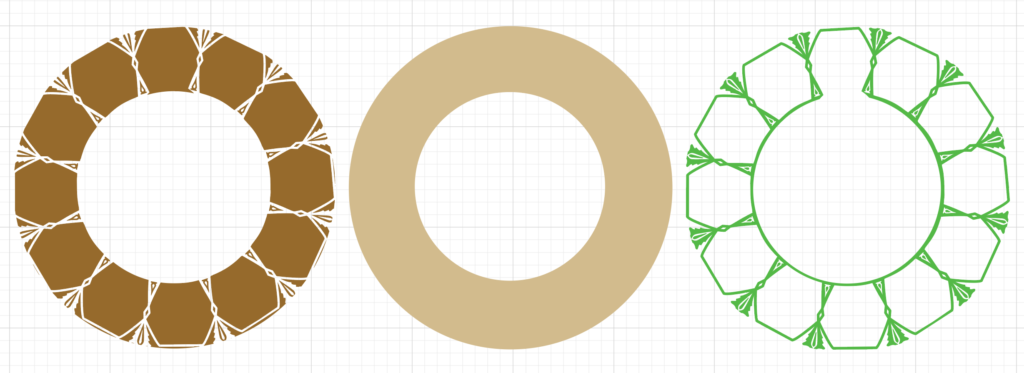
Since part of the face is inset (around the hours) and offset (around the interior of the face) the designs were split and used as masks – imported into substance to achieve these results.
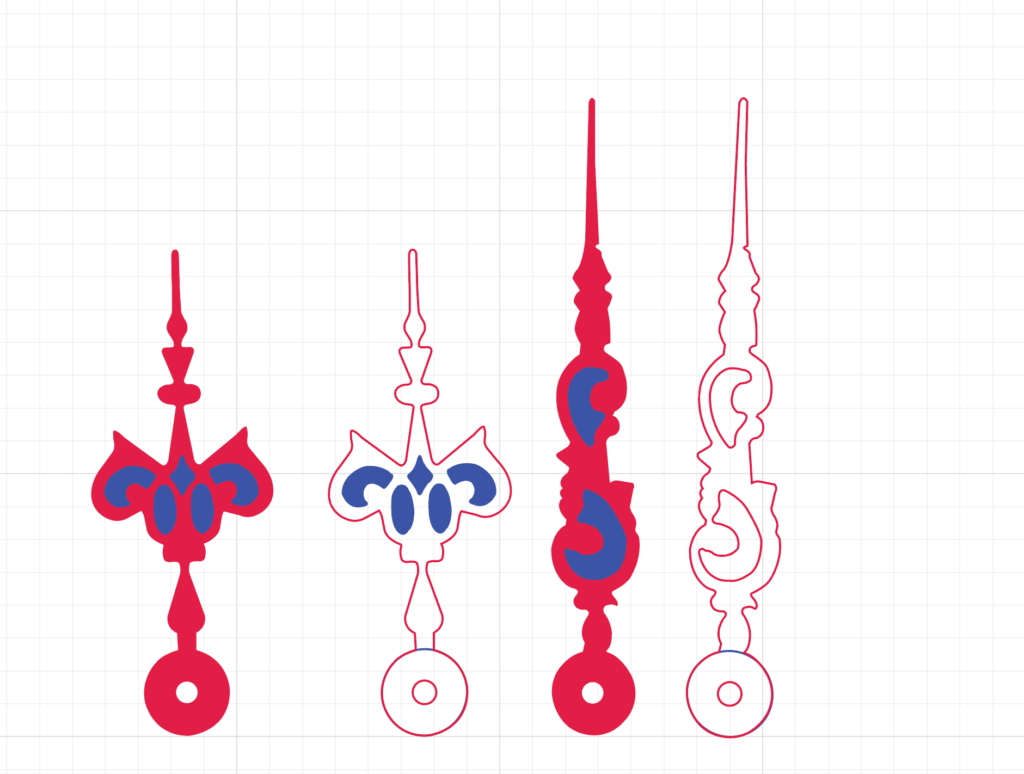
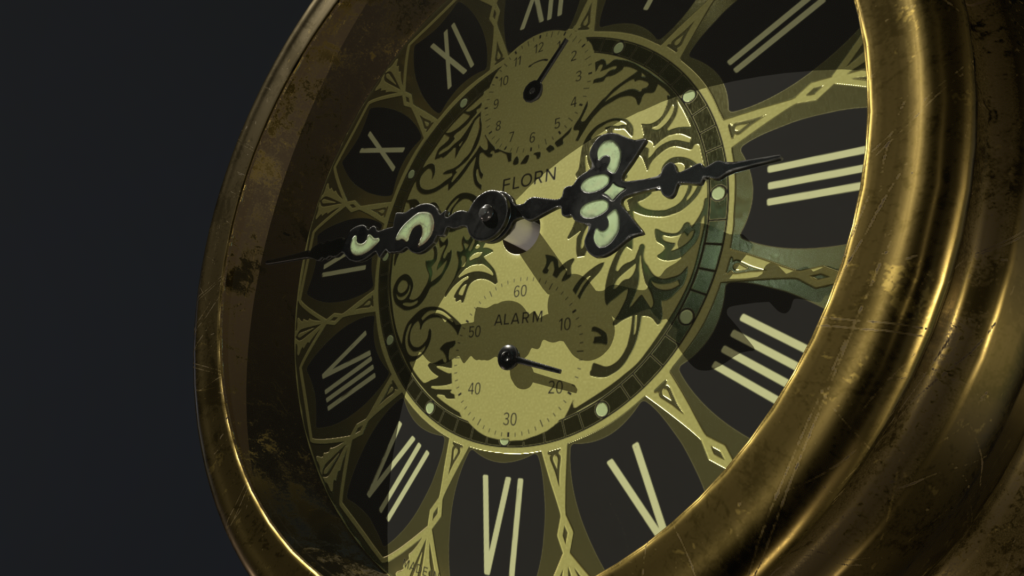
I used a similar masking process for the hands of clock – bringing these graphic shapes in as masks to Substance, to use for the enameled parts of the hands which raise up from the black / matte finish. This helped me to achieve precise shapes to match the design of these areas.
Baking & Material Creation
I used Adobe Substance Painter for the baking and material creation process. Using the low poly model, the high poly version was baked over and I used a PBR workflow.
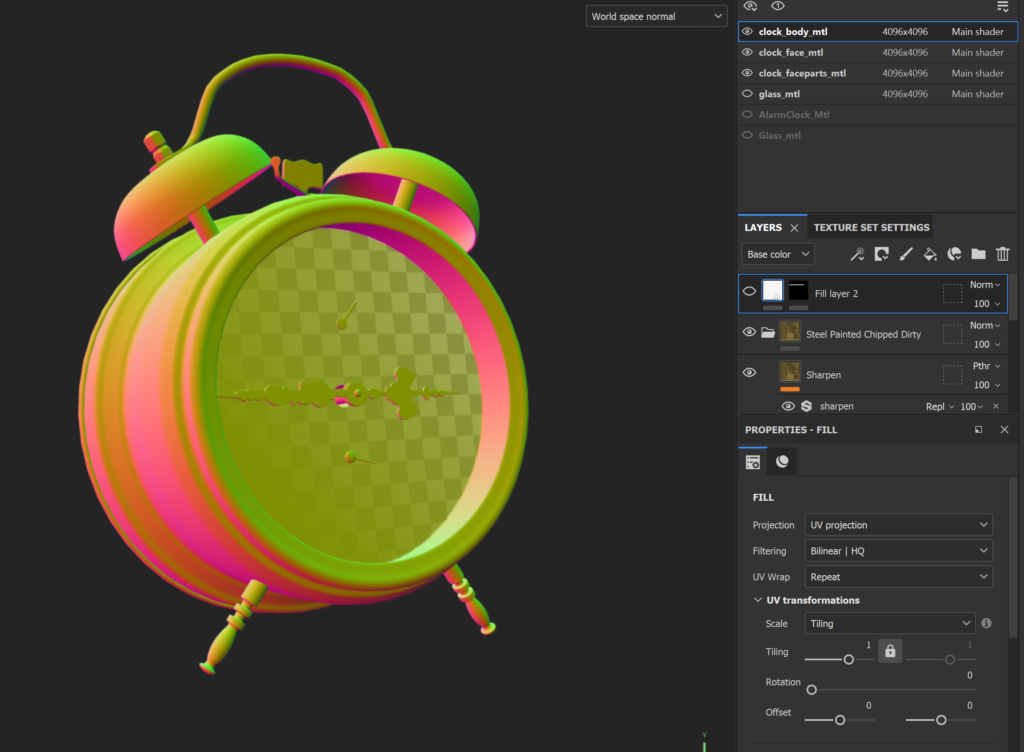
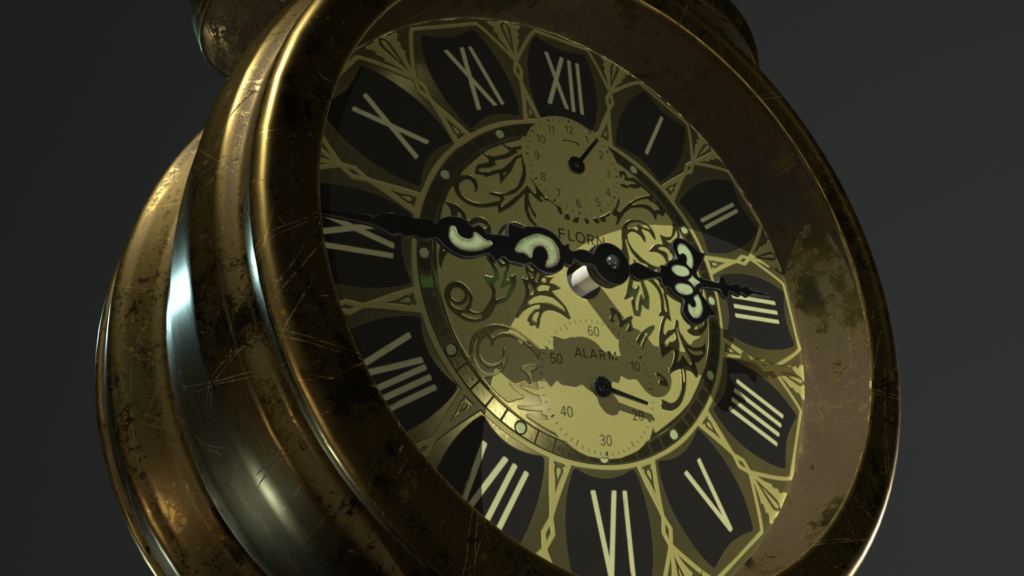
The face of the clock required many layers of detail and masking to achieve the inset and offset foil effects on the face. Using the new SVG import capabilities of Substance it was no problem to import high resolution decals for the printed label components and markings.
Micro-surface details were added to the foil to improve the accuracy of the material surface.
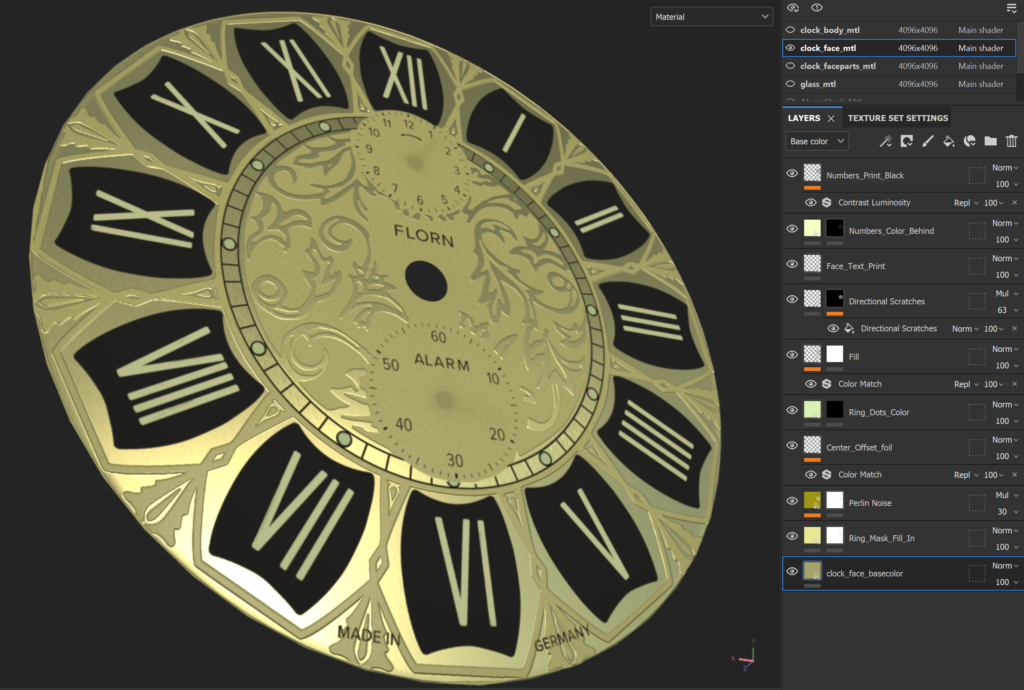
Here is the result in Iray (Substance renderer).
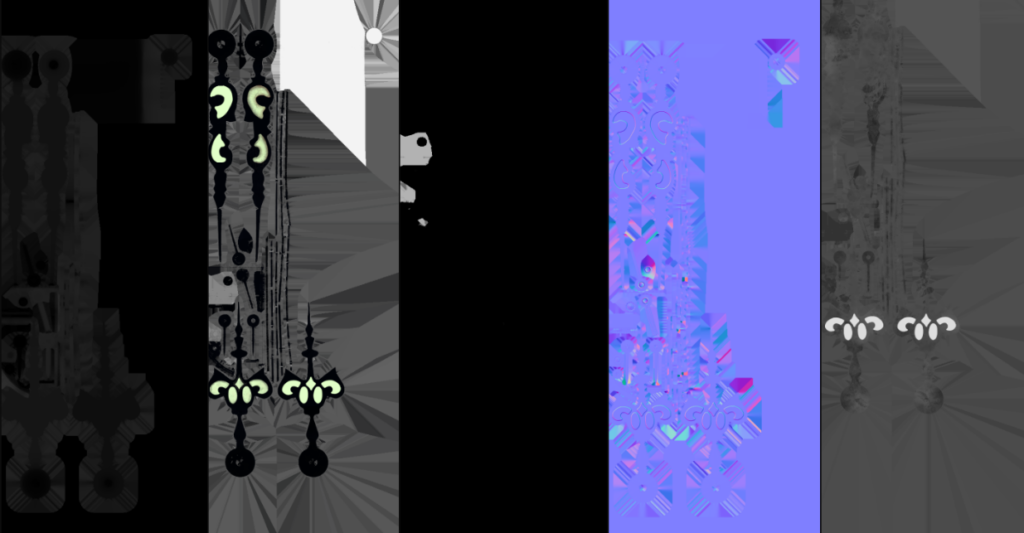
The final materials combined:
Clock Body – AO, Color, Metallic, Normal, and Roughness

Clock Face – AO, Color, Metallic, Normal, and Roughness

Clock Hands – AO, Color, Metallic, Normal, and Roughness
Lighting & Rendering
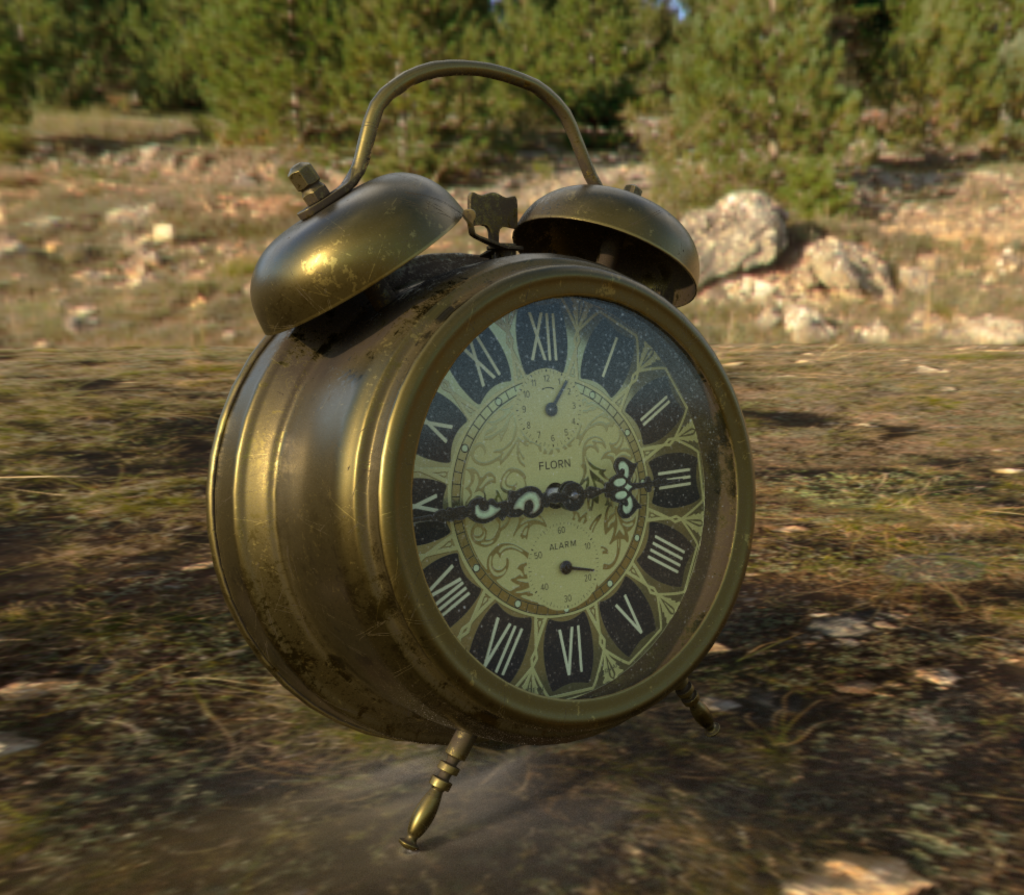
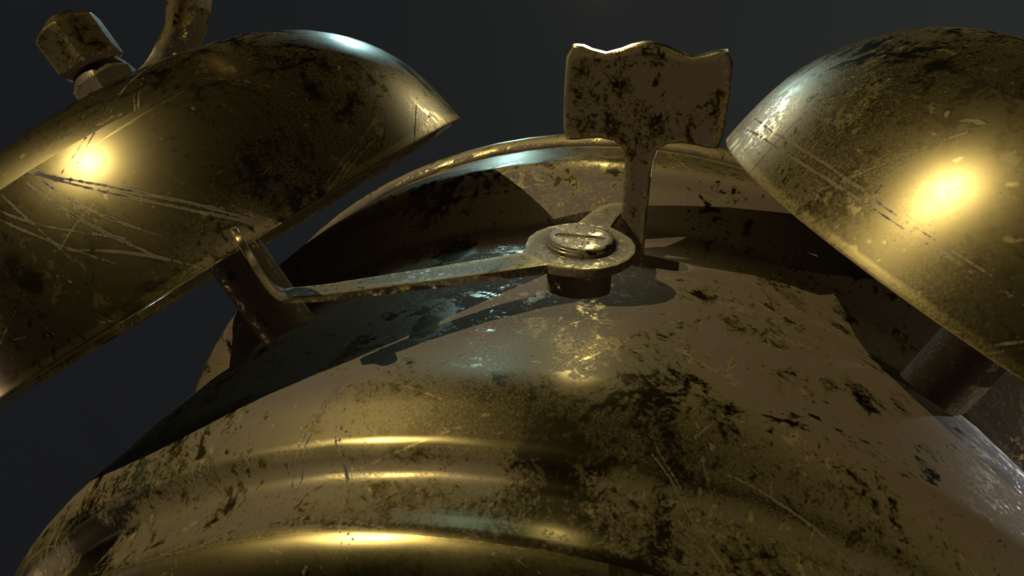
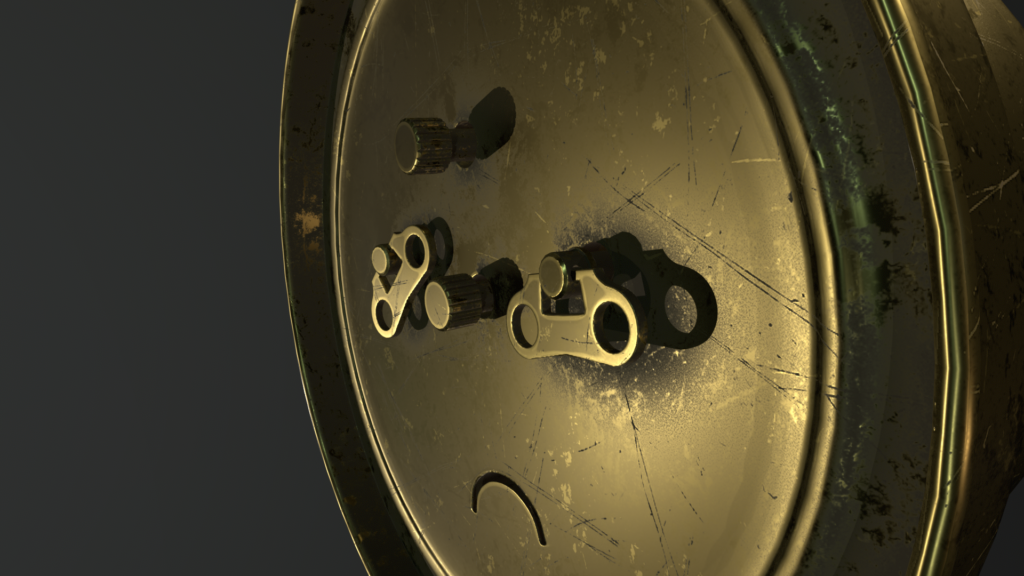
Using Marmoset Toolbag 4 – the scene was composed, materials imported, lights added and rendered.
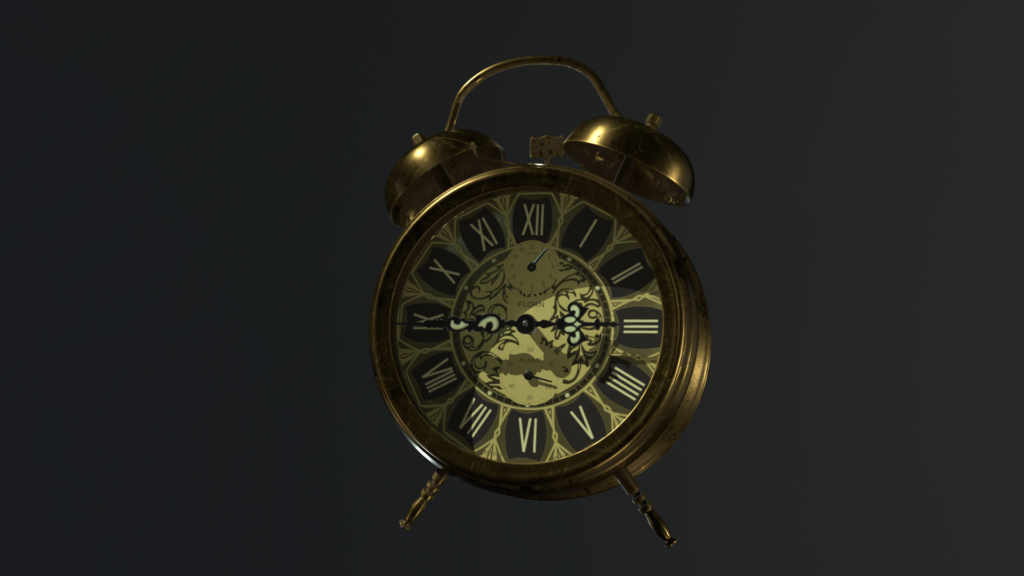
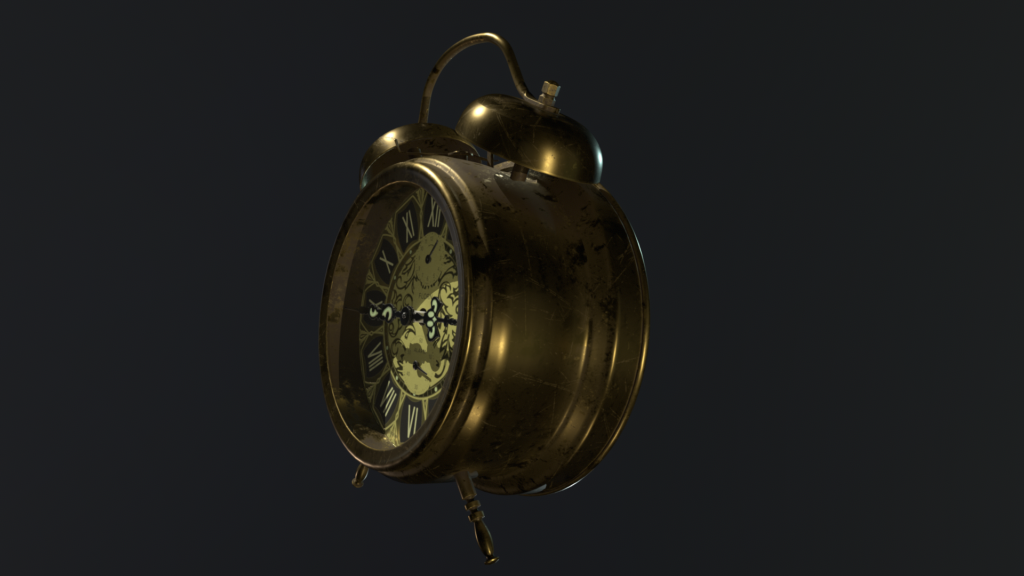
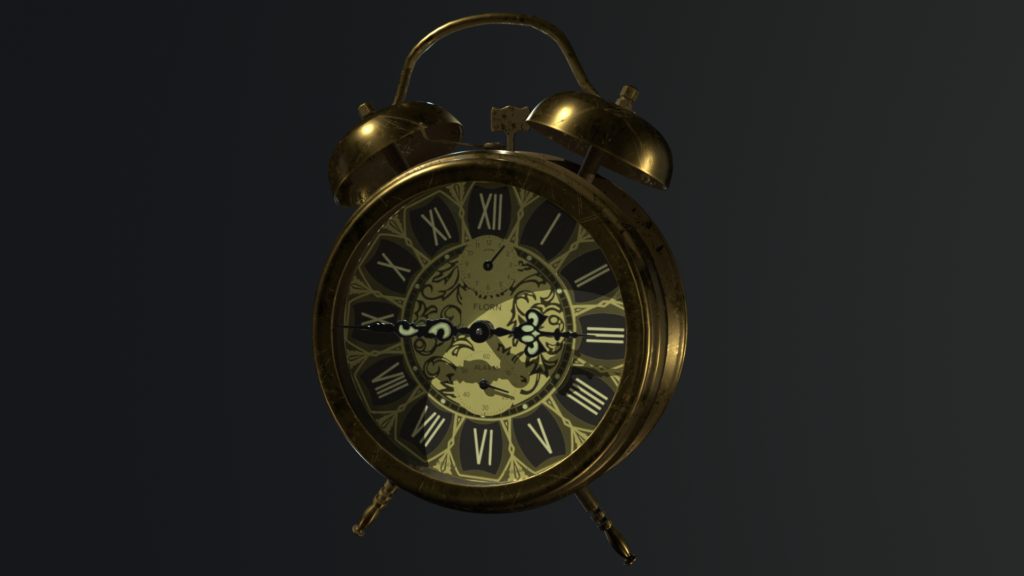
Turntable video of final result:
