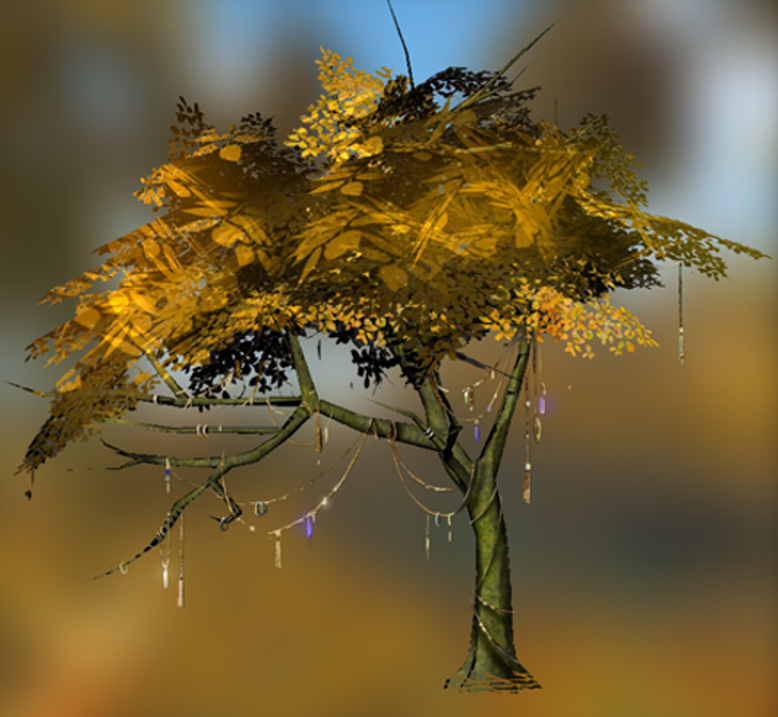
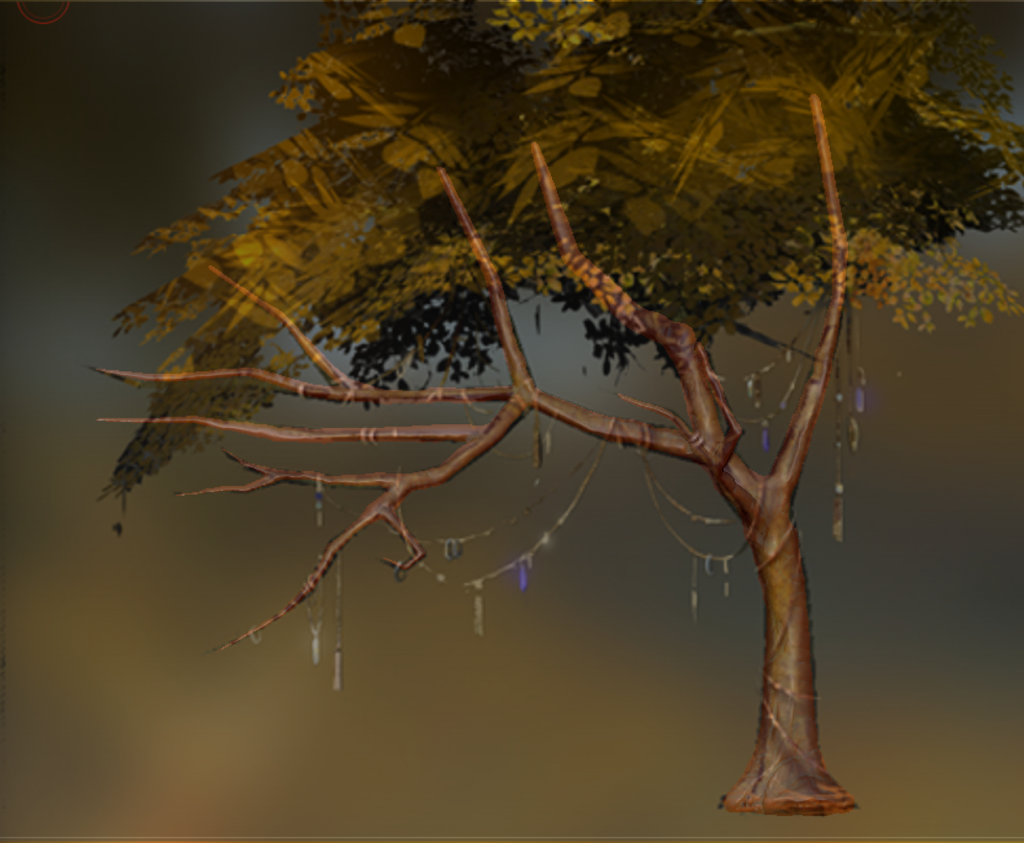
The tree design is not my concept. This concept is borrowed from the amazing: Camelot Unchained – Forest Golden Charm Tree.
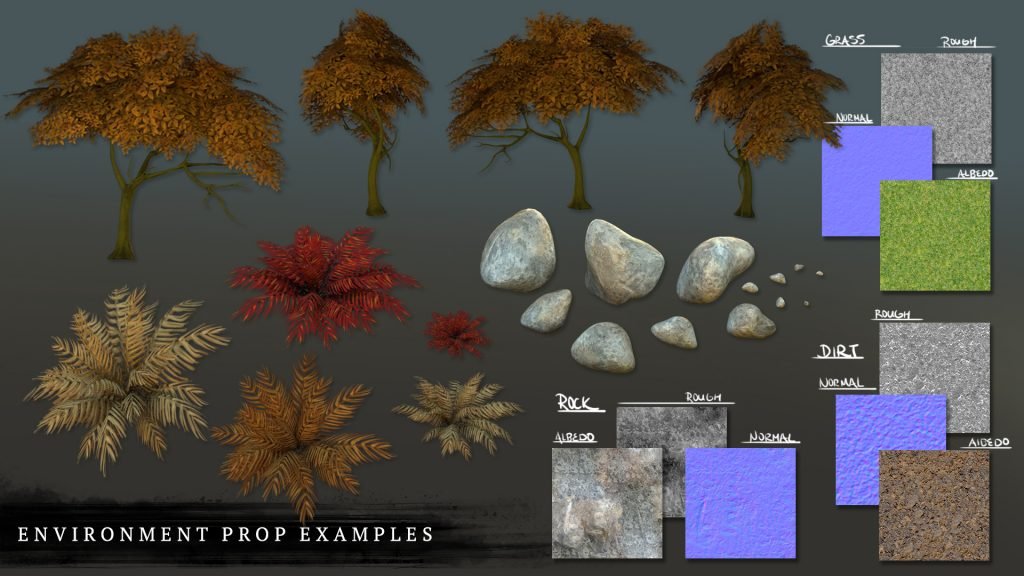
This post describes my process for the creation of:
Tree Process

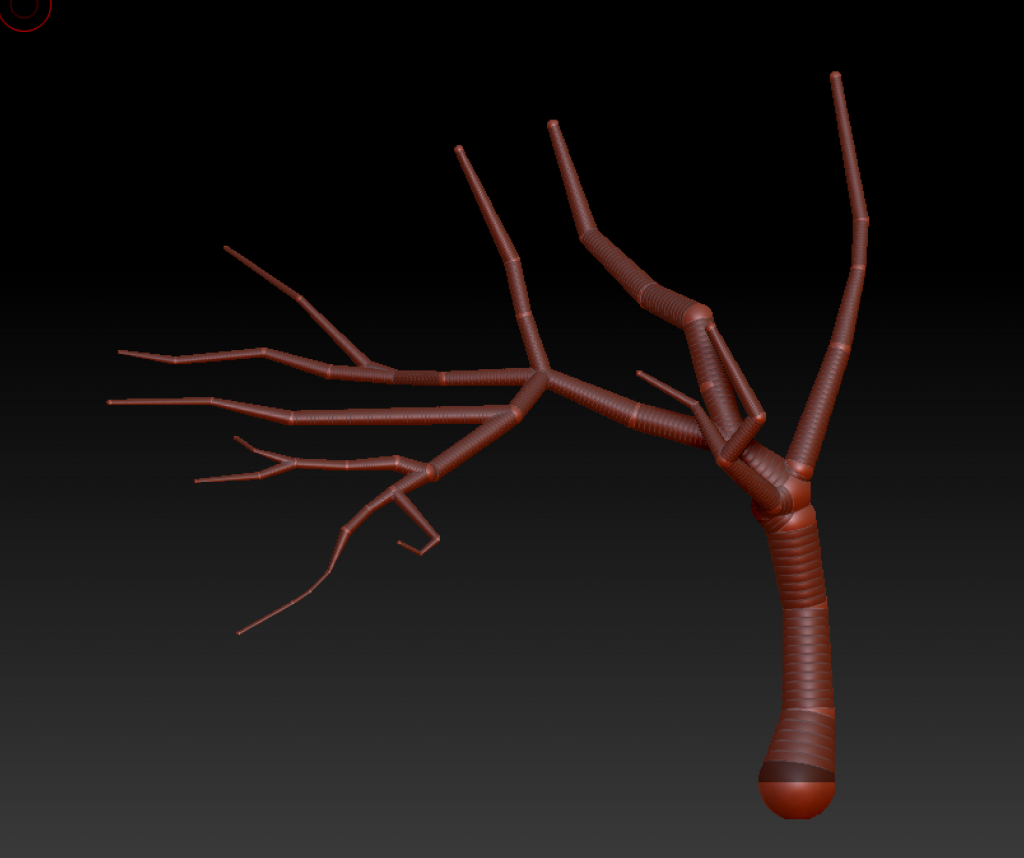
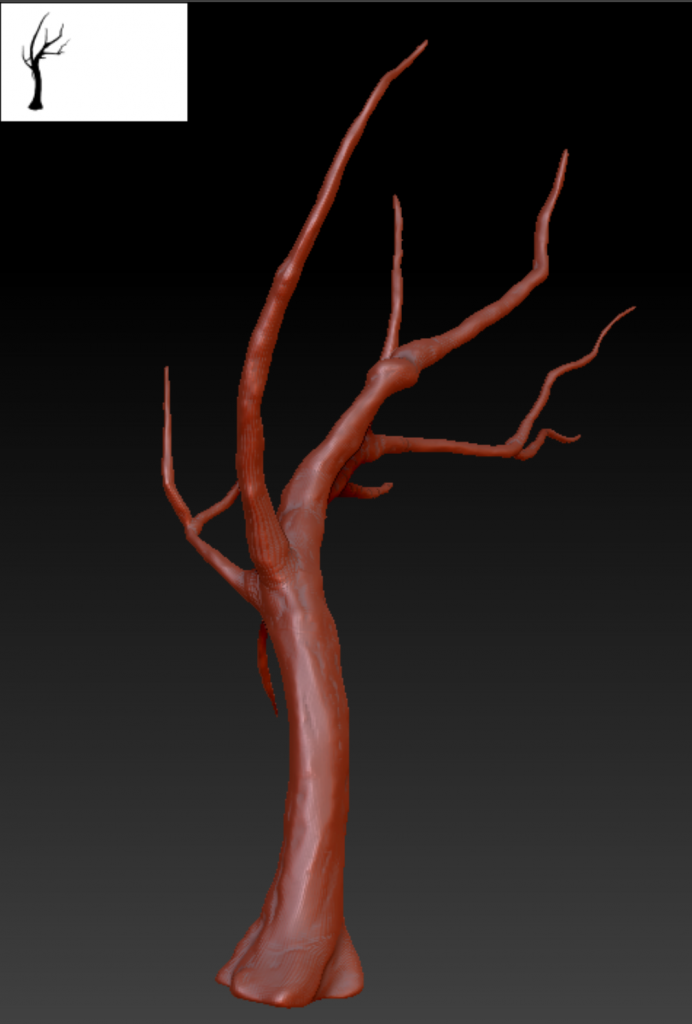
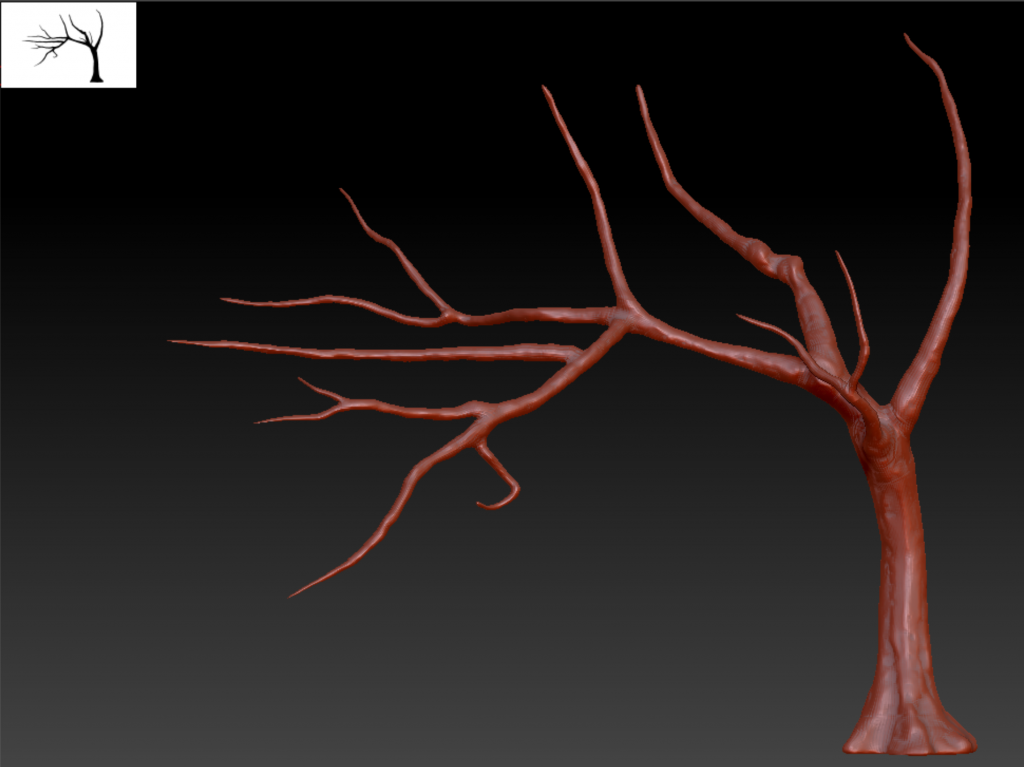
Step 1 – Rough 3D block-in using Zbrush / ZSpheres
Focusing on overall shape and proportion of elements.
Checking to ensure overall form and negative spaces match the concept using Photoshop. The tree design is not my concept. This concept is borrowed from the amazing: Camelot Unchained – Forest Golden Charm Tree.
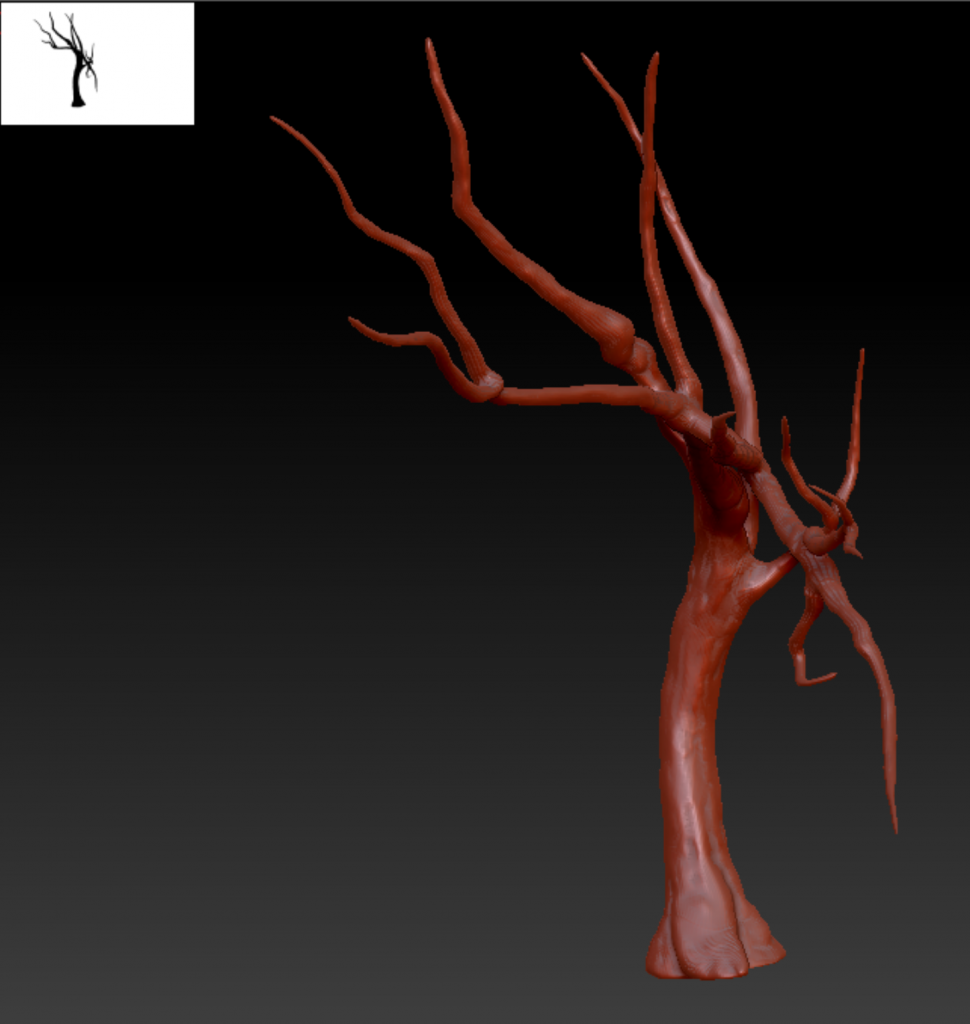
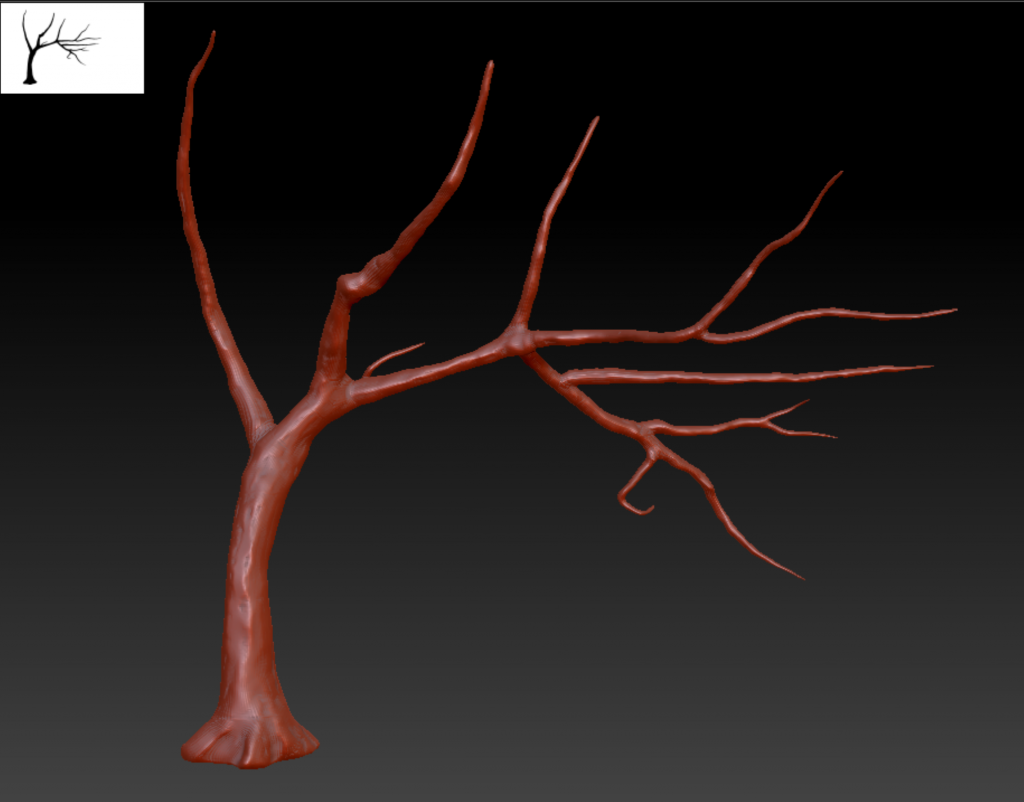
Converting ZSpheres to adaptive skin and exporting high poly mesh for use in baking in Substance.
Step 2 – Low poly modeling in Maya
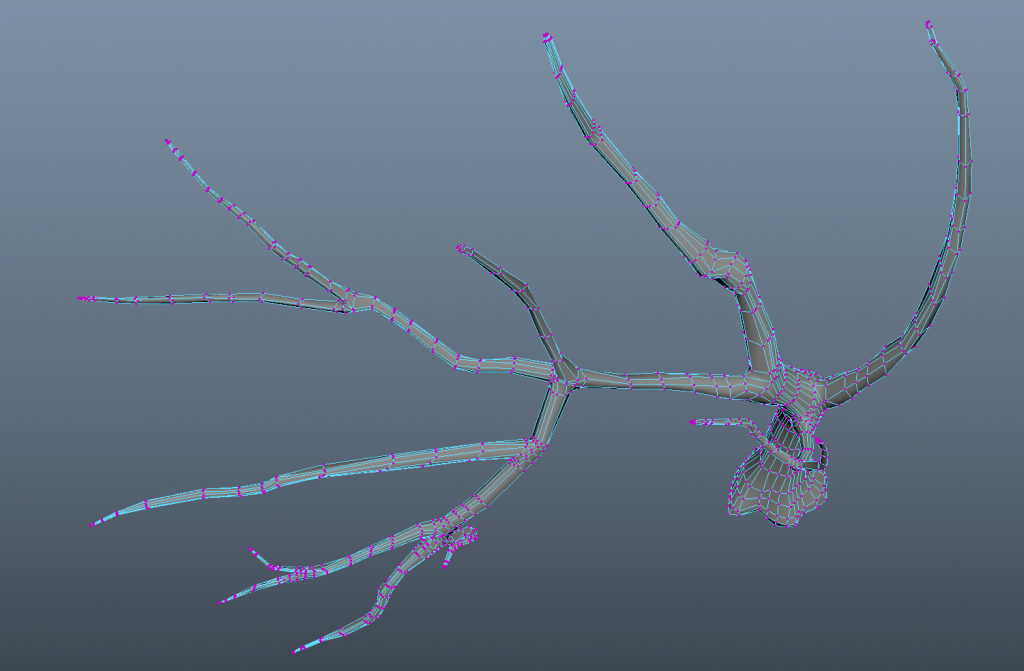
Starting from an import of the high poly mesh from Zbrush and using Quad Draw to create a lower poly mesh over the high poly live mesh surface.
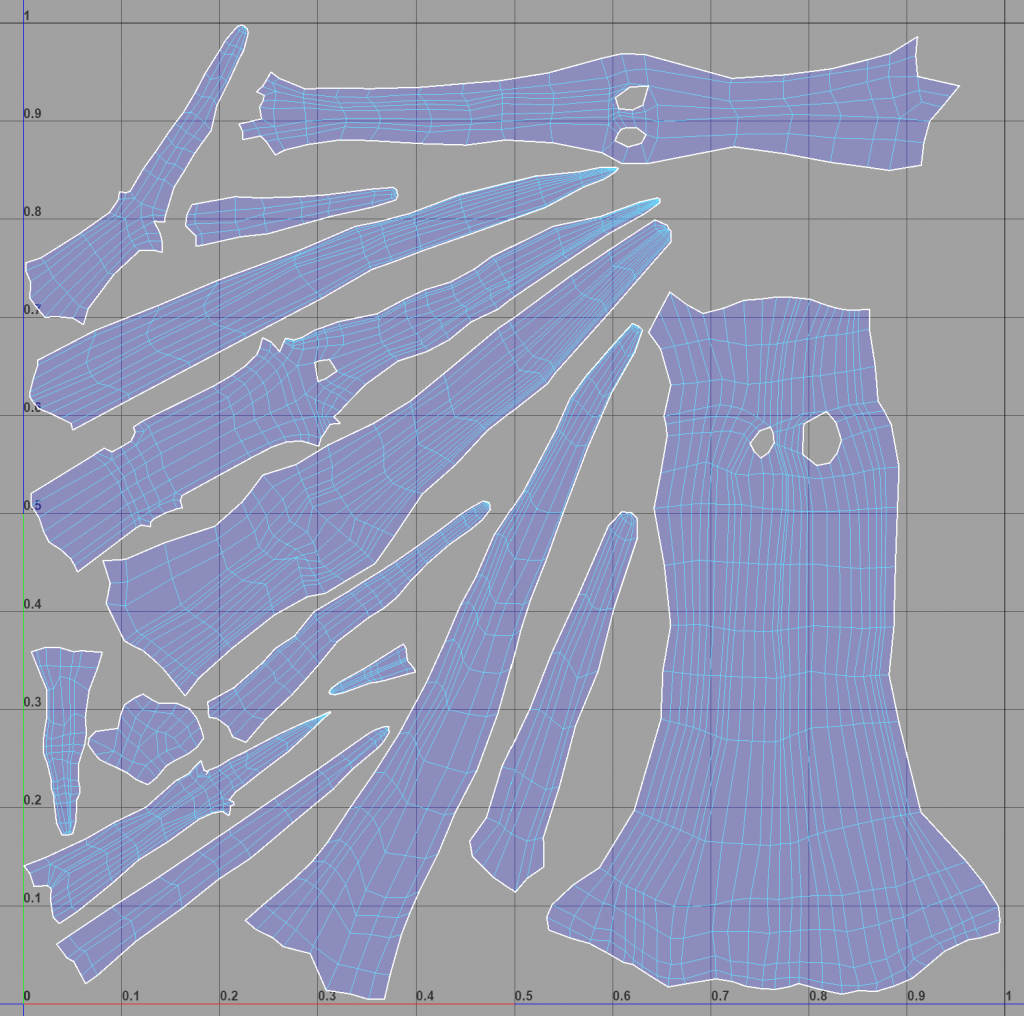
UV unwrapping in Maya using low poly mesh and applying material for Substance use.
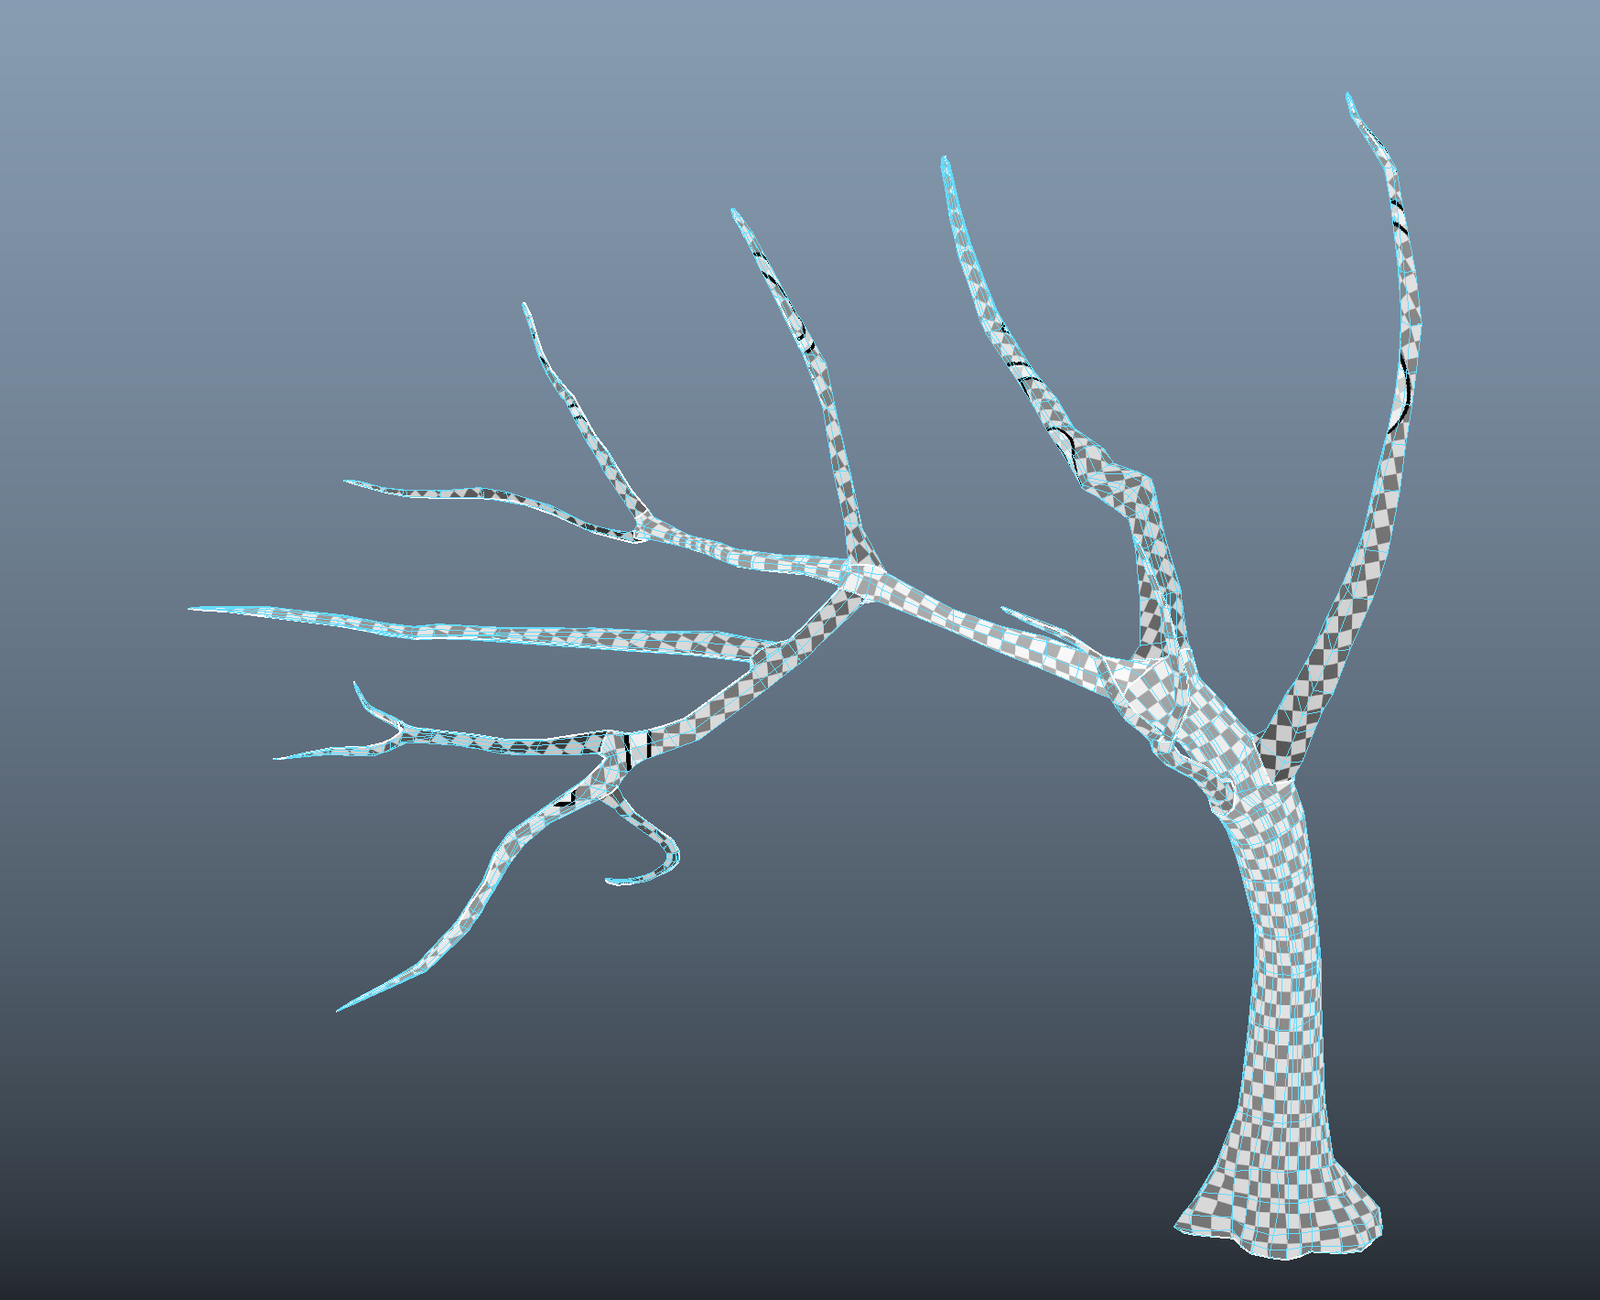
Step 3 – Texturing in Substance
Baking high poly mesh over low poly. Exporting Color, Normal, and Roughness maps for use in setting up materials.
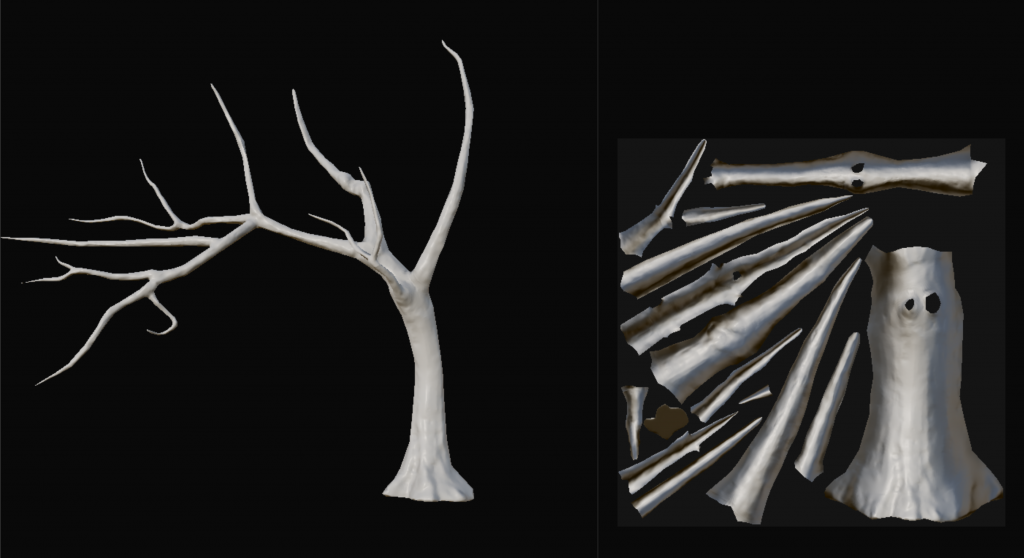
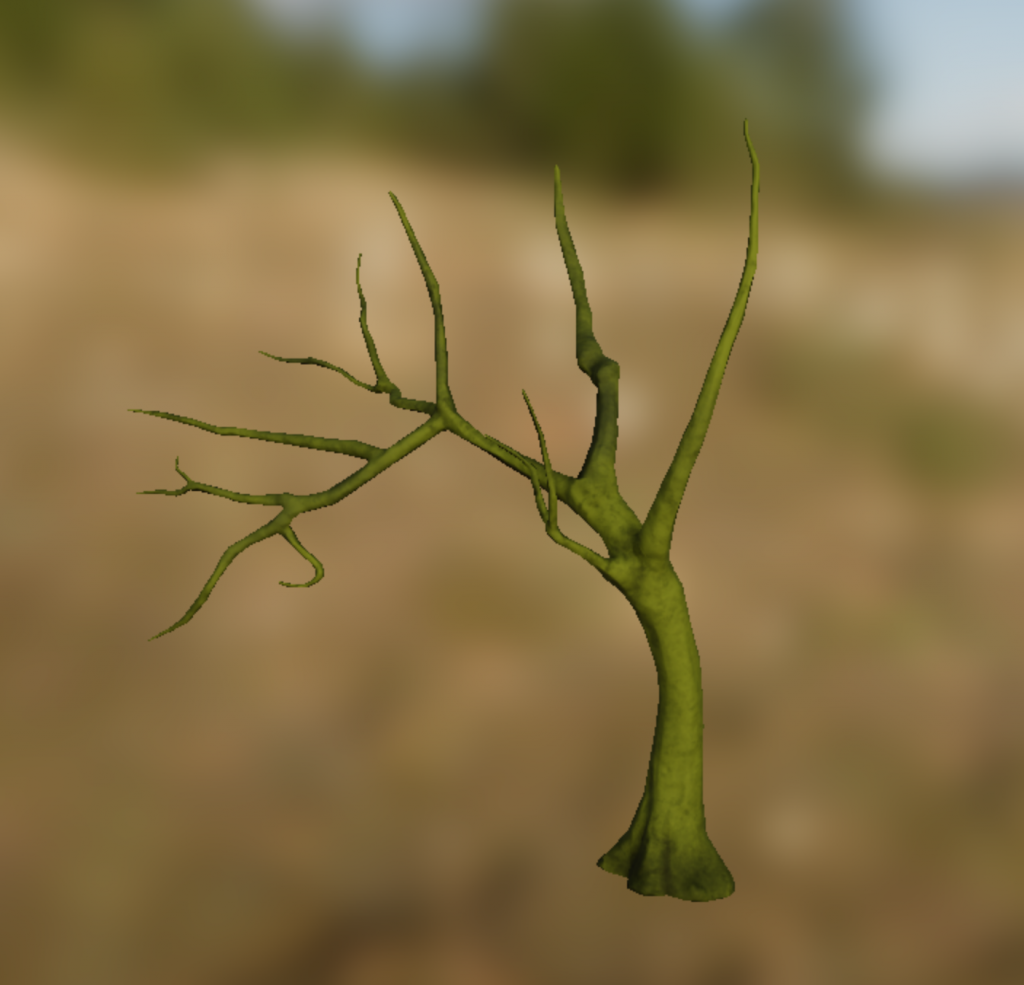
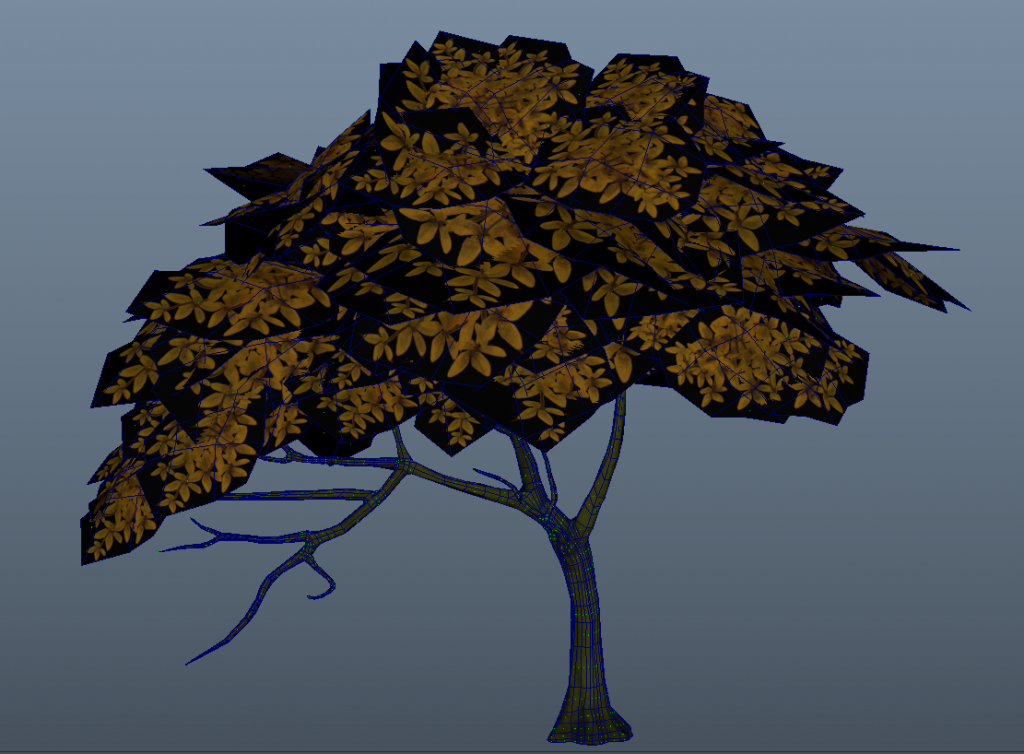
Step 4 – Creating Foliage Cards & Assembly
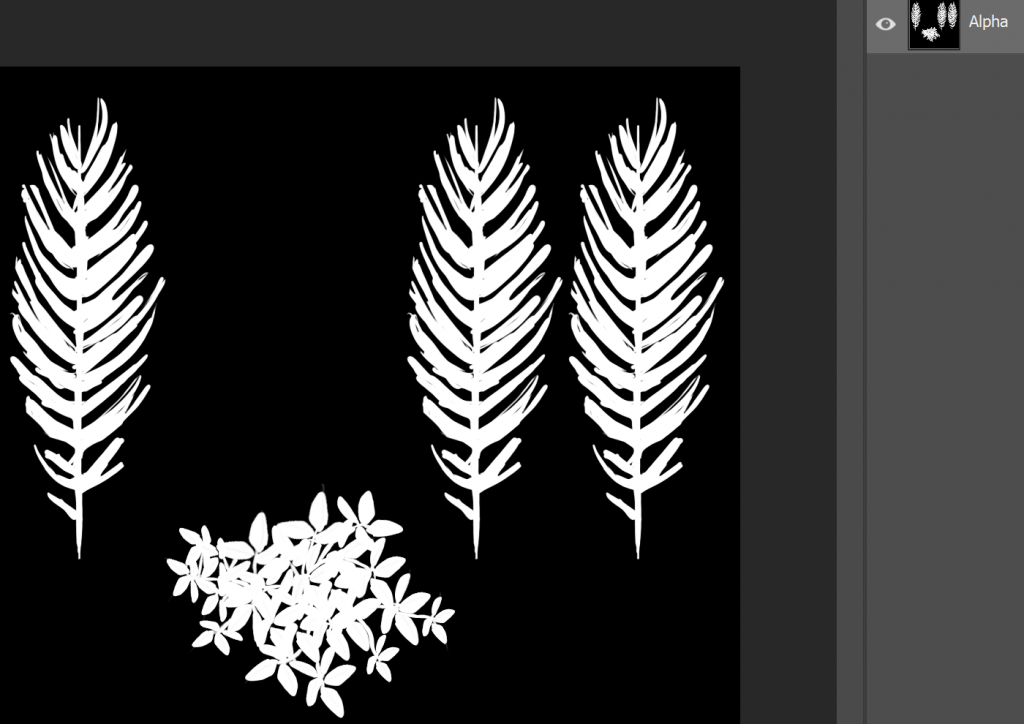
Painted leaf color texture in Photoshop and added alpha channel.
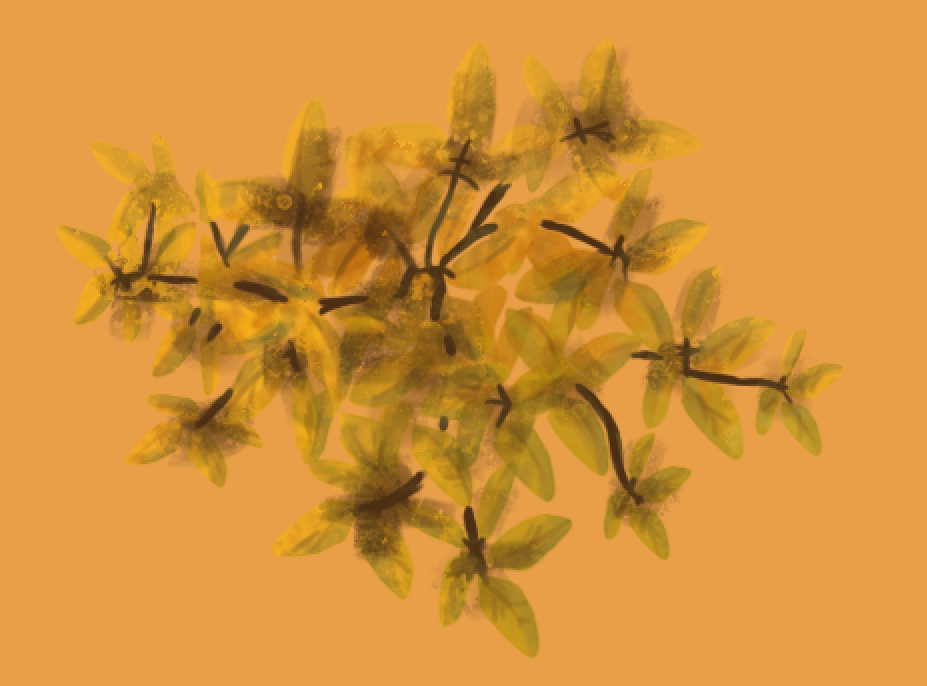
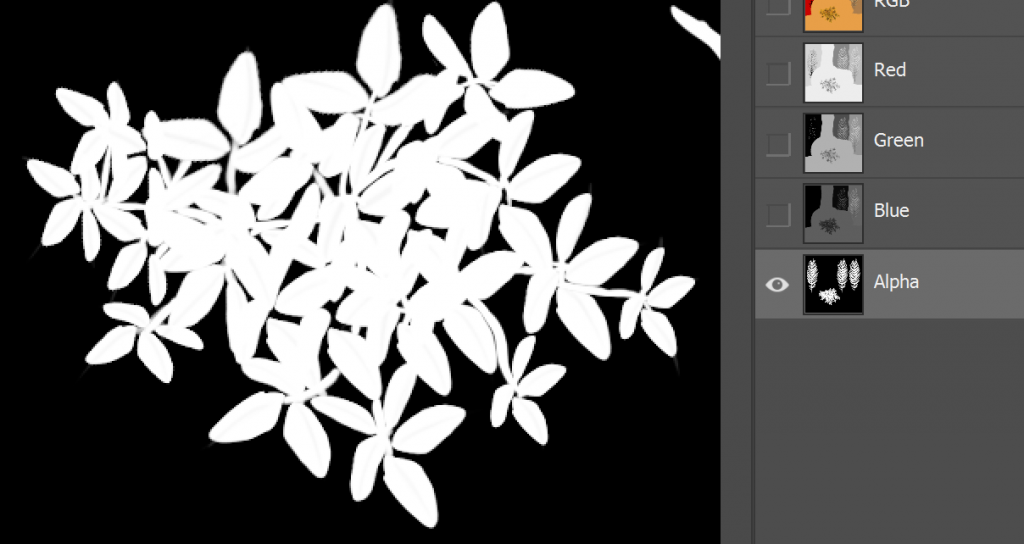
Created flat plane with limited subdivisions and manipulated vertices for a more organic feel. Setup material and applied Alpha channel to material opacity.
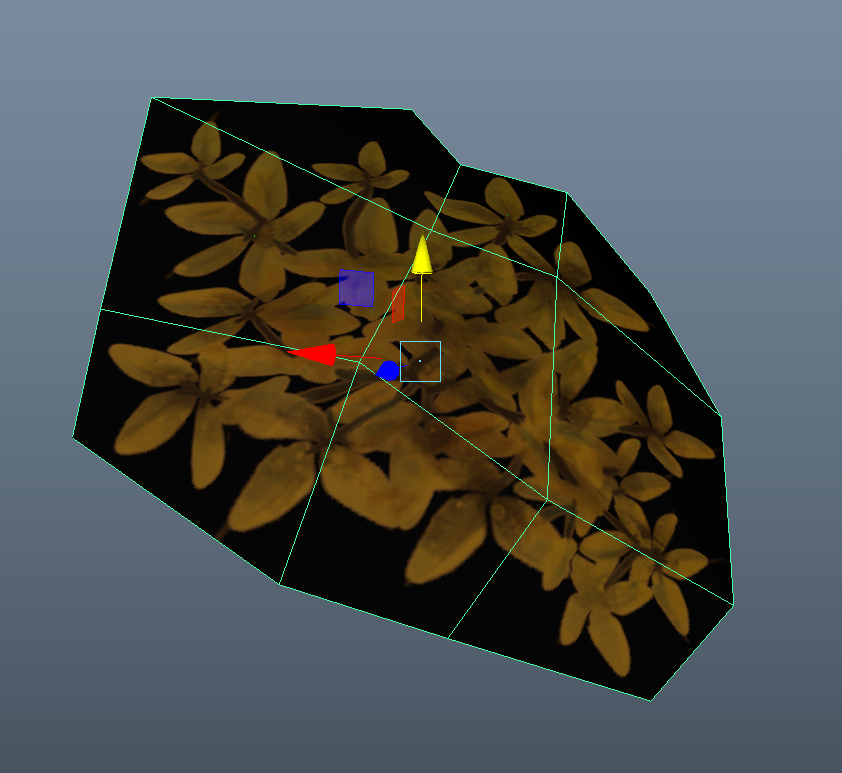
Arranged cards with goal of capturing the look and feel of the original concept. The tree design is not my concept. This concept is borrowed from the amazing: Camelot Unchained – Forest Golden Charm Tree.
Final result – rendered using Arnold.

Ferns Process
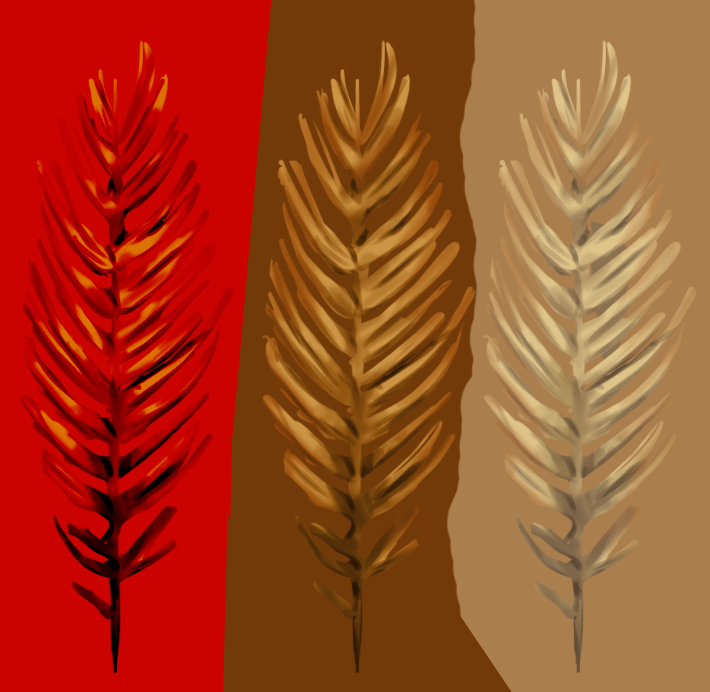
Step 1 – Painting Textures in Photoshop
Painting fern base color texture with color variations in Photoshop with Alpha channel. (For efficiency this was done on the same map as tree foliage.)
Step 2 – Creating Foliage Cards in Maya
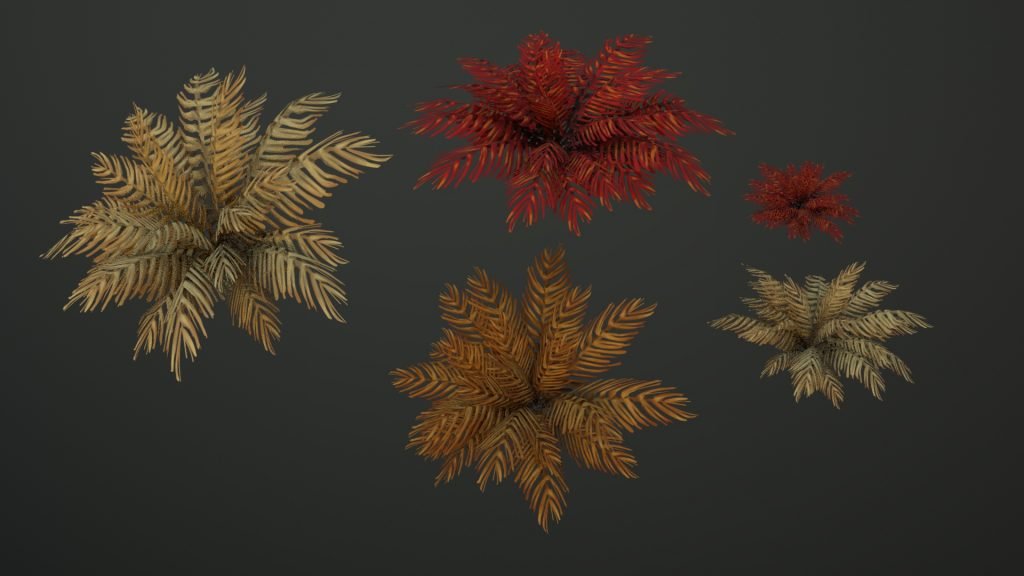
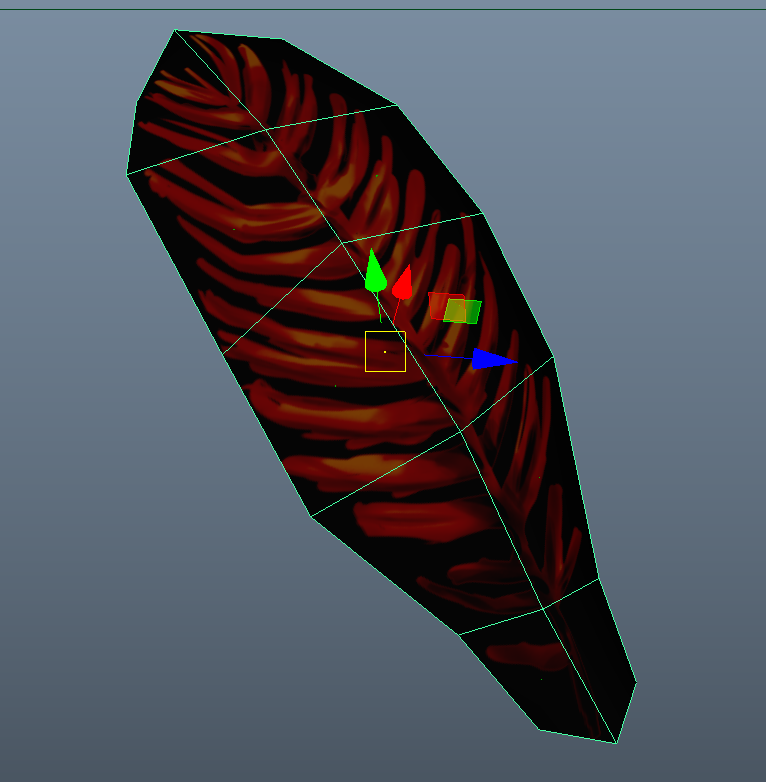
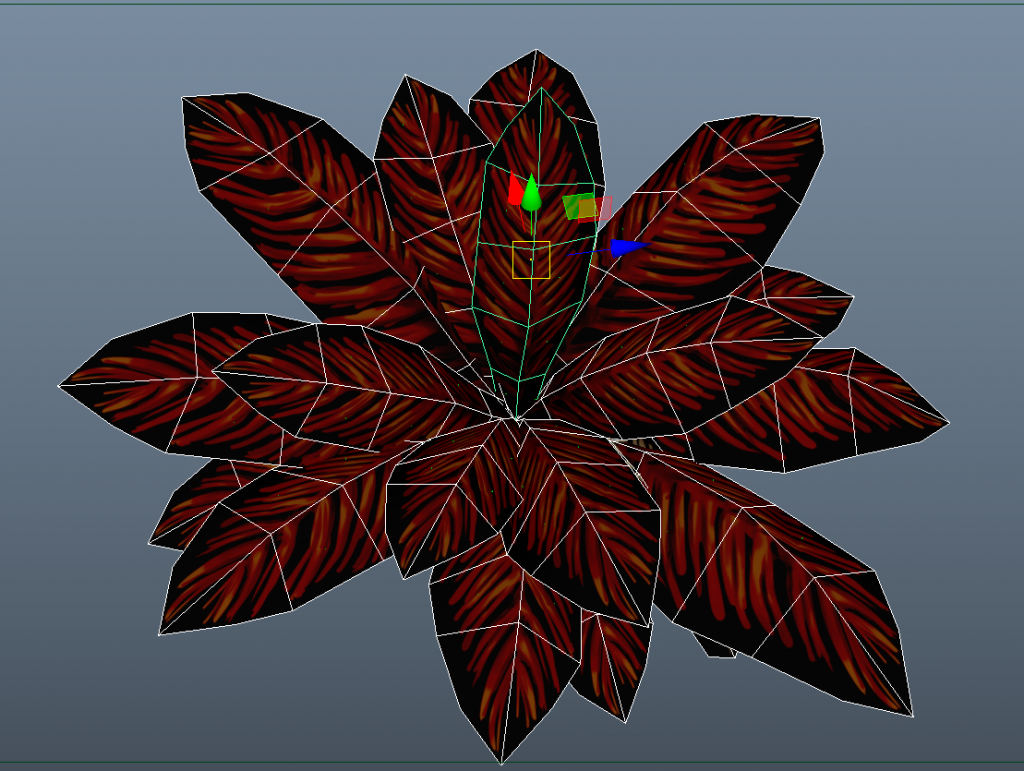
Creating basic plane and manipulating vertices for a more organic feel. Setting up new material: applying texture to surface with Alpha channel applied to material opacity. Moving pivot point to bottom center of card and duplicating around central axis to mimic construction of real world ferns in nature.
Step 3 – Fern Leaf Variation
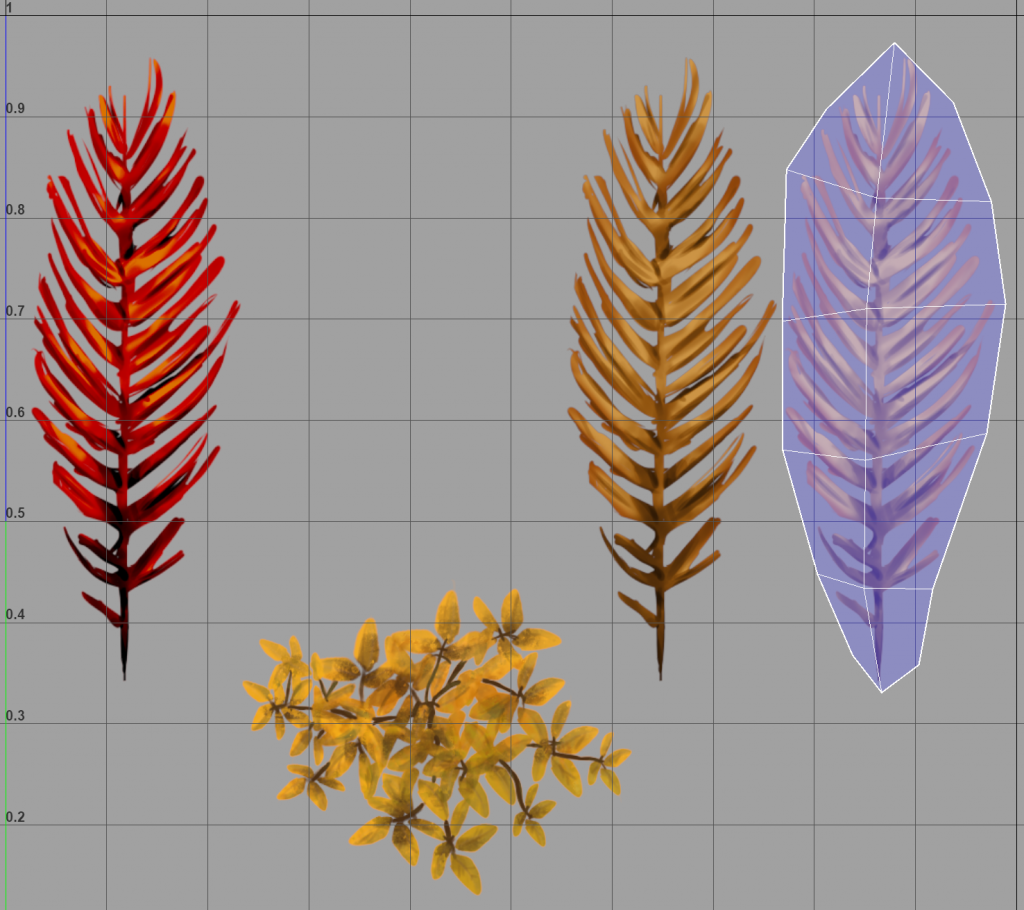
Shifting placement of UV relative to the texture map to allow for variations in color.
Final result rendered in Maya – Arnold.

Rocks Process

Step 1 – Creating Tile-able Texture in Photoshop
Collecting real world photos of rocks (using only free and open-source assets) to create in Photoshop a Albedo / Base Color, Roughness, and Normal map.
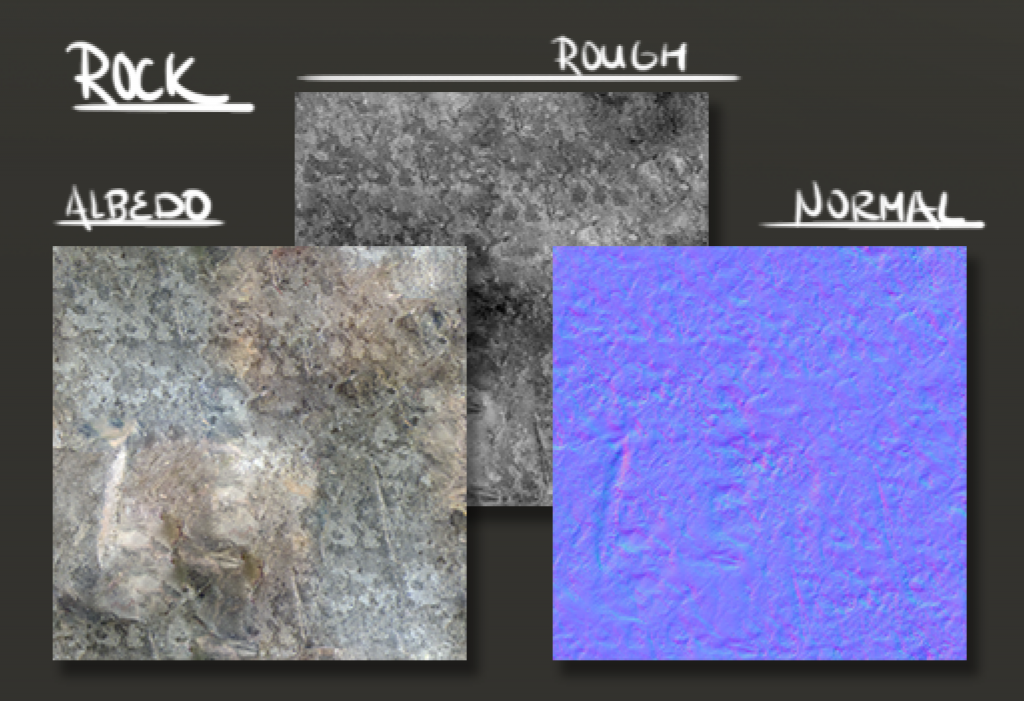
Albedo / Base Color – created through photo-bashing, hand painting, stamping, and cloning areas – checking tile-able quality by defining the map as a pattern and testing on large canvases using Photoshop with the goals of creating seamless, high resolution, results with little pattern recognition.
Rough – generated in Photoshop using the Albedo / Base Color by converting the color map to black & white only. Increasing the crunchiness of this affect by manipulating Levels settings and applying additional noise textures over the top.
Normal – generated in Photoshop using the 3D > Generate Normal Map tool – with careful selection of the Blur, Detail Scale, and Contrast Details settings.
Step 2 – Setting Up Material & Applying to 3D Mesh Objects
Using Maya to create and applying new material to objects using the maps (above).
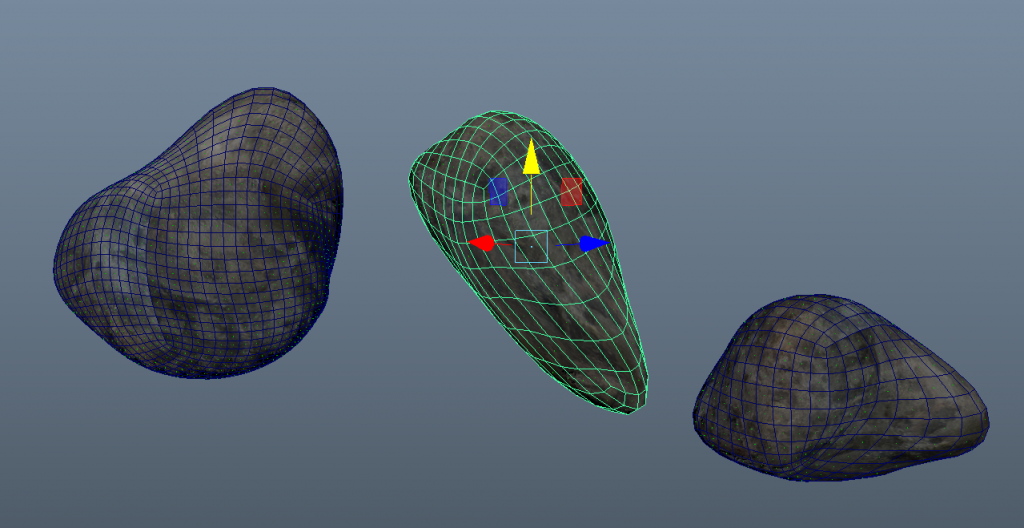
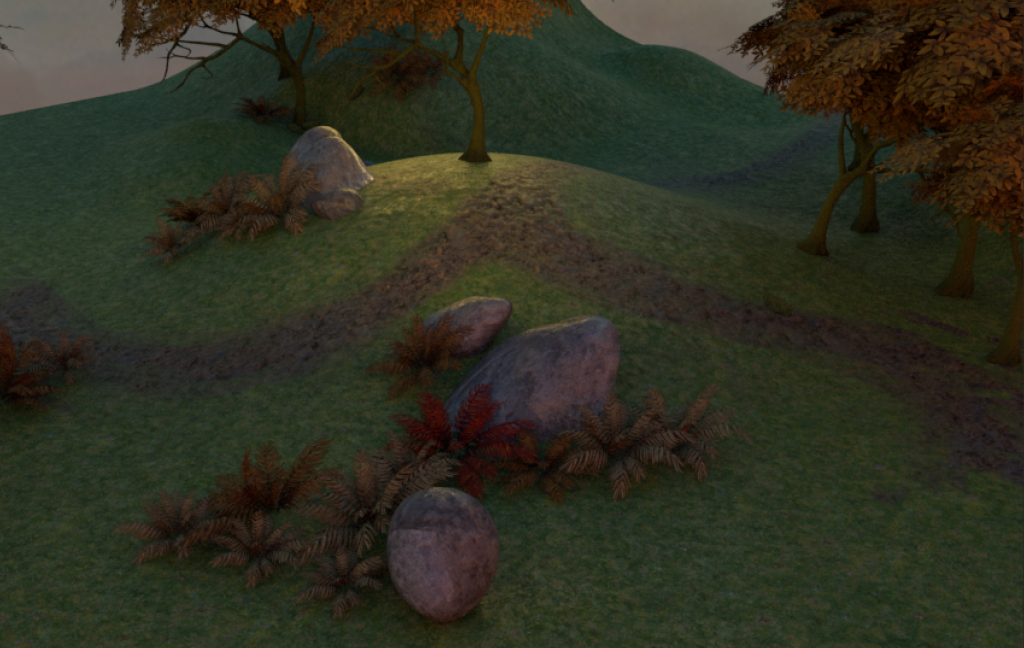
Final results in Maya using Arnold:
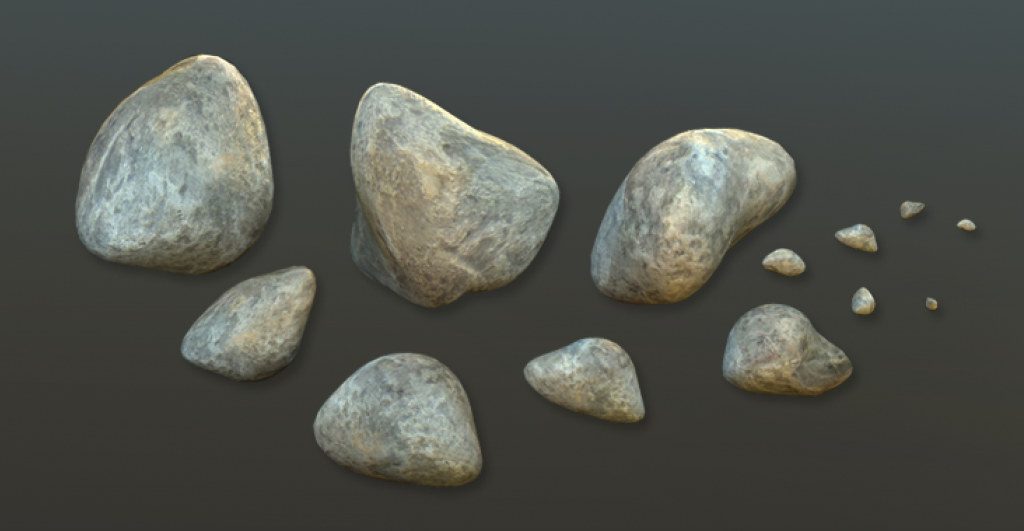
Grass & Dirt Process
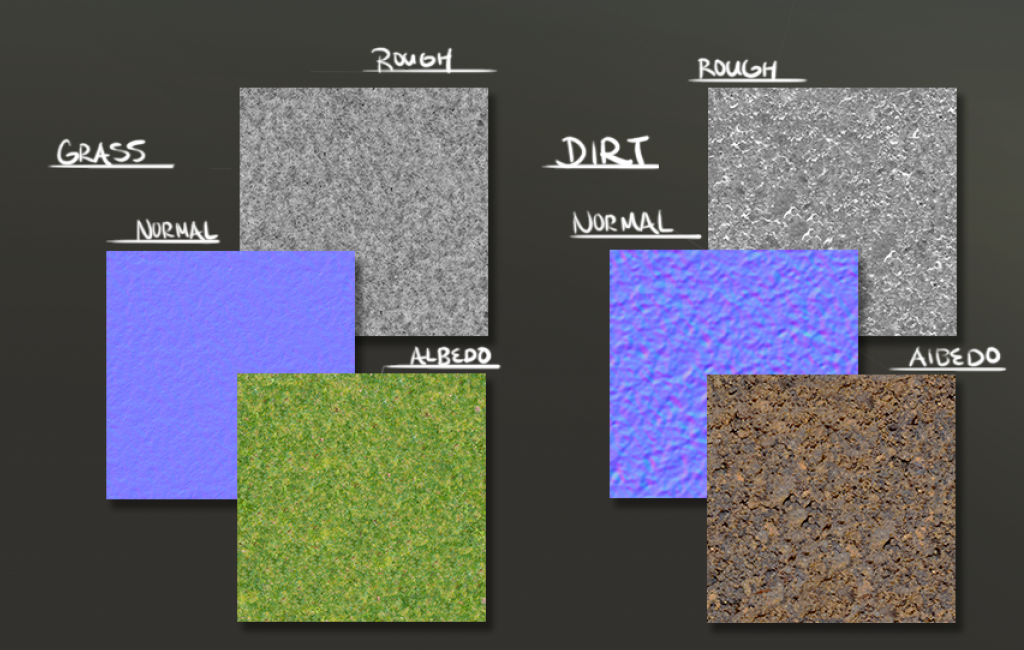
Step 1 – Creating Tile-able Texture in Photoshop
Collecting real world photos of grass and dirt (using only free and open-source assets) to create in Photoshop an Albedo / Base Color, Roughness, and Normal map. This process is identical to the process used to create the Rock Tile-able texture. Please see this section for more details.
Step 2 – Setting up Material and Applying to 3D Mesh
In Maya – creating an object for the ground / surface, setting up, and applying the created materials.
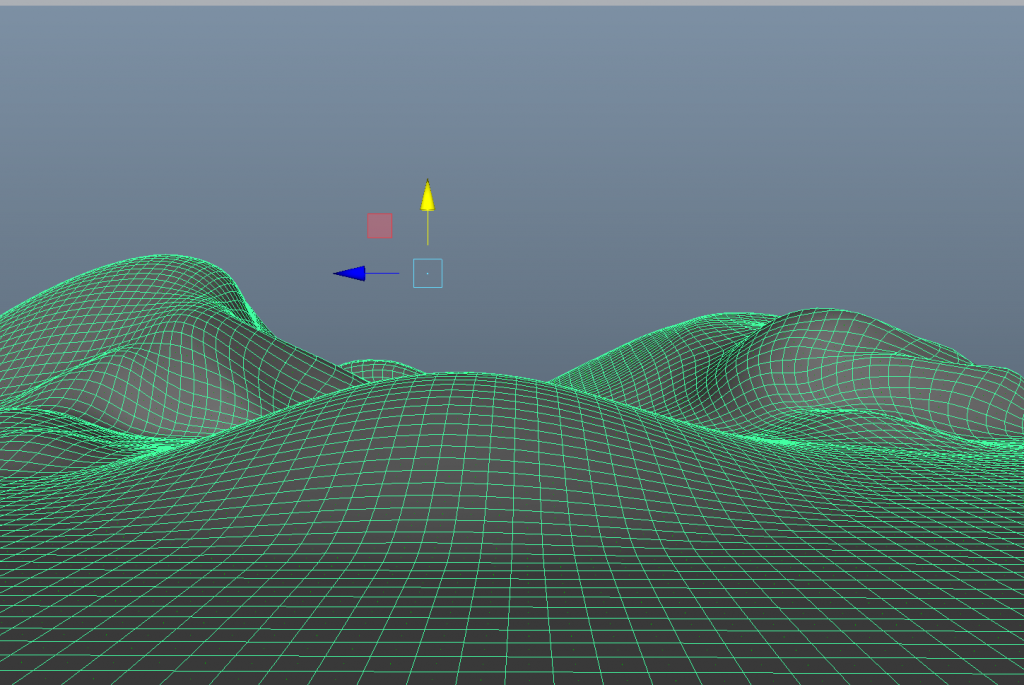
Step 3 – Creating A Path With Mixed Materials
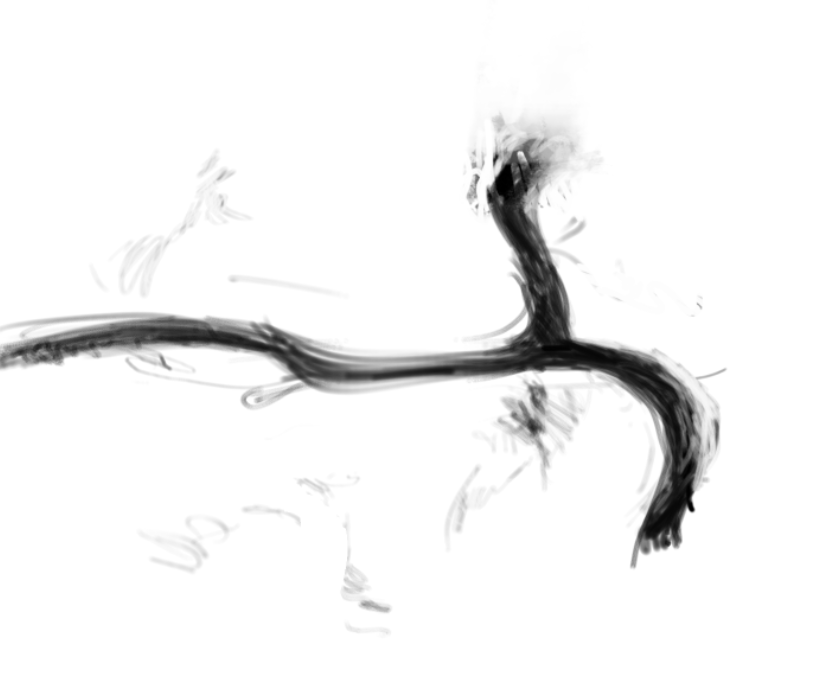
Using an Alpha – creating a path / mixture between the two different types of materials so dirt will show through in some parts and grass in others.
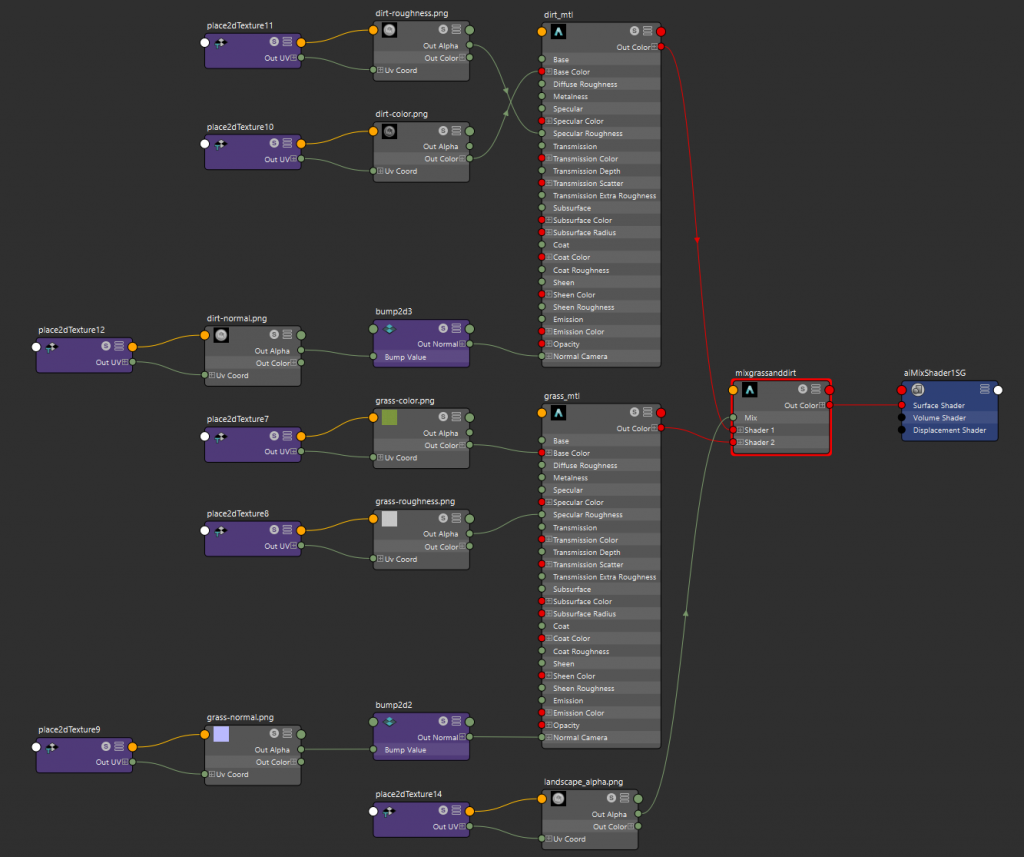
Final result in Maya rendered in Arnold:
